I have been asked by several people to tell them how I go about scanning old negatives. While this post uses old negatives from my family genealogy research, the same applies to old larger format negatives or anything, including trains and other railroad subjects.
While this technique works well with larger negatives, I’m not totally sure how well it would work for 35mm and I have a dedicated 35mm film scanner to do that work with. However this post talks about my larger film techniqe.
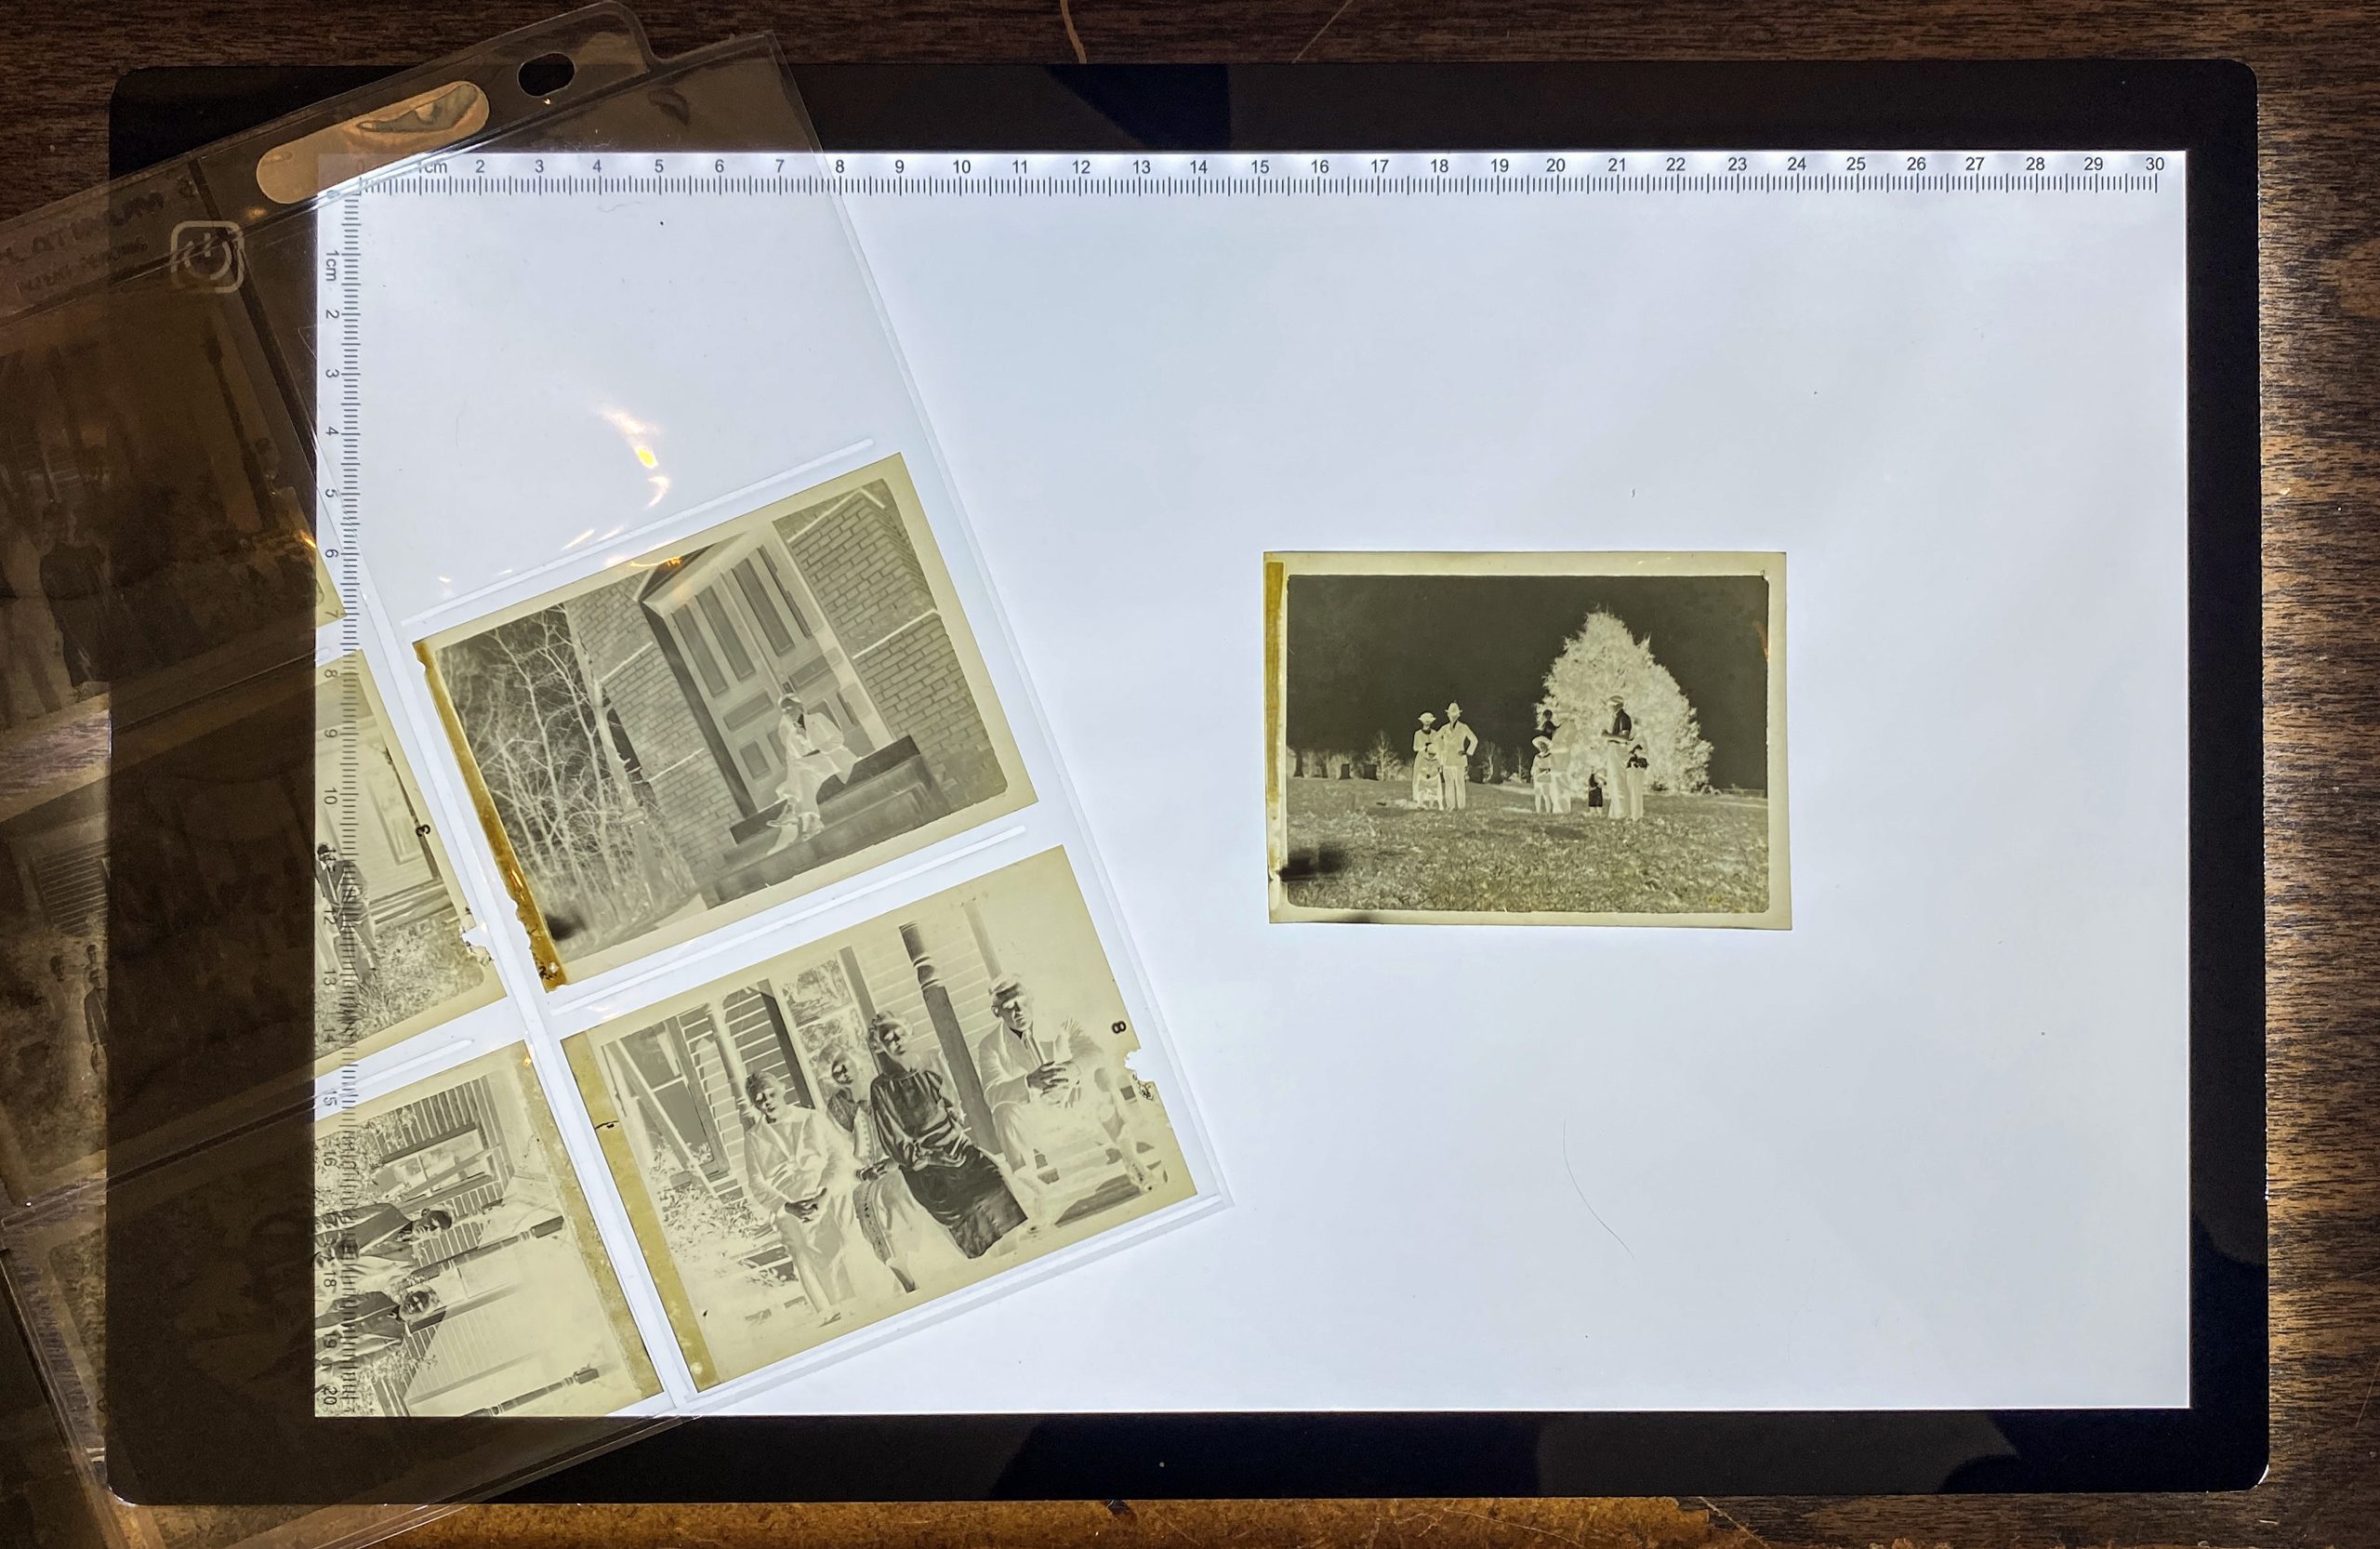
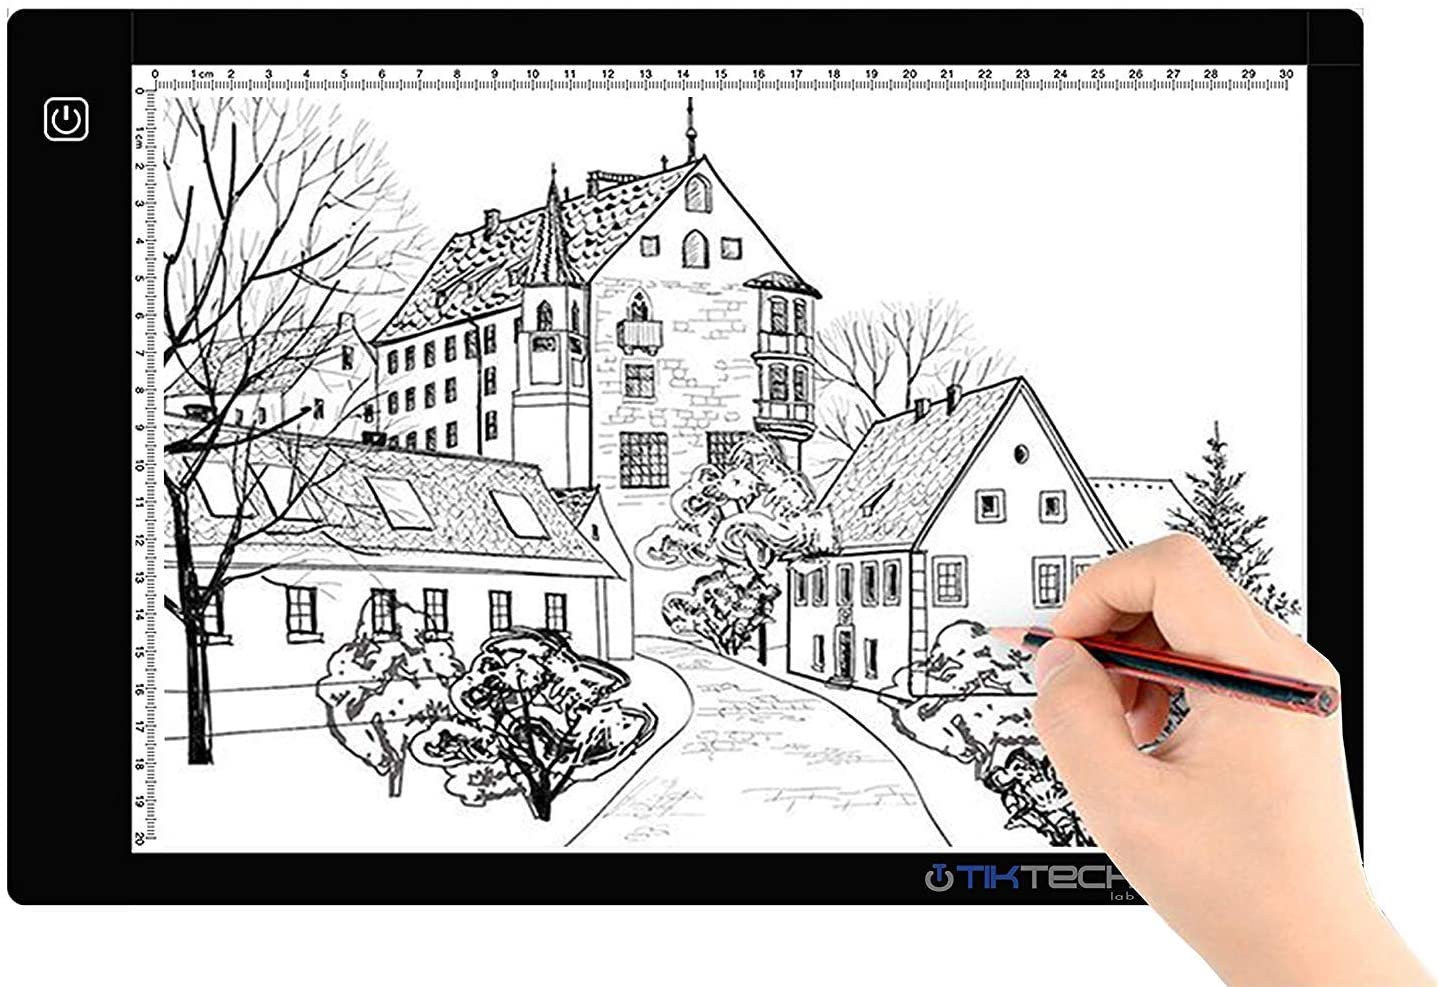
In a nutshell I use a LED Portable Light Tracing Pad, which is pretty much like the old light tables many of us used back in the film days. However, they aren’t nearly as expensive and are much brighter! I lay the negative down on the table and if it curls a lot then I lay a piece of glass that I had the edges sanded down for handling and then take a picture of the negative either using my iPhone Pro 11 or my digital camera. What I will illustrate in the steps below is using my iPhone 11Pro. The resulting image after I transfer it to my computer and open it in Photoshop is about 26mb before I size it to my final size.
First I power the light box using the supplied USB cord and turn it on to it’s brightest setting as this one has variable brightness. Details on the light box will be at the end of this post.
I lay my negative on the box. Use a piece of glass to hold it down if it curls too badly.
I then use my iPhone to take a picture of the negative
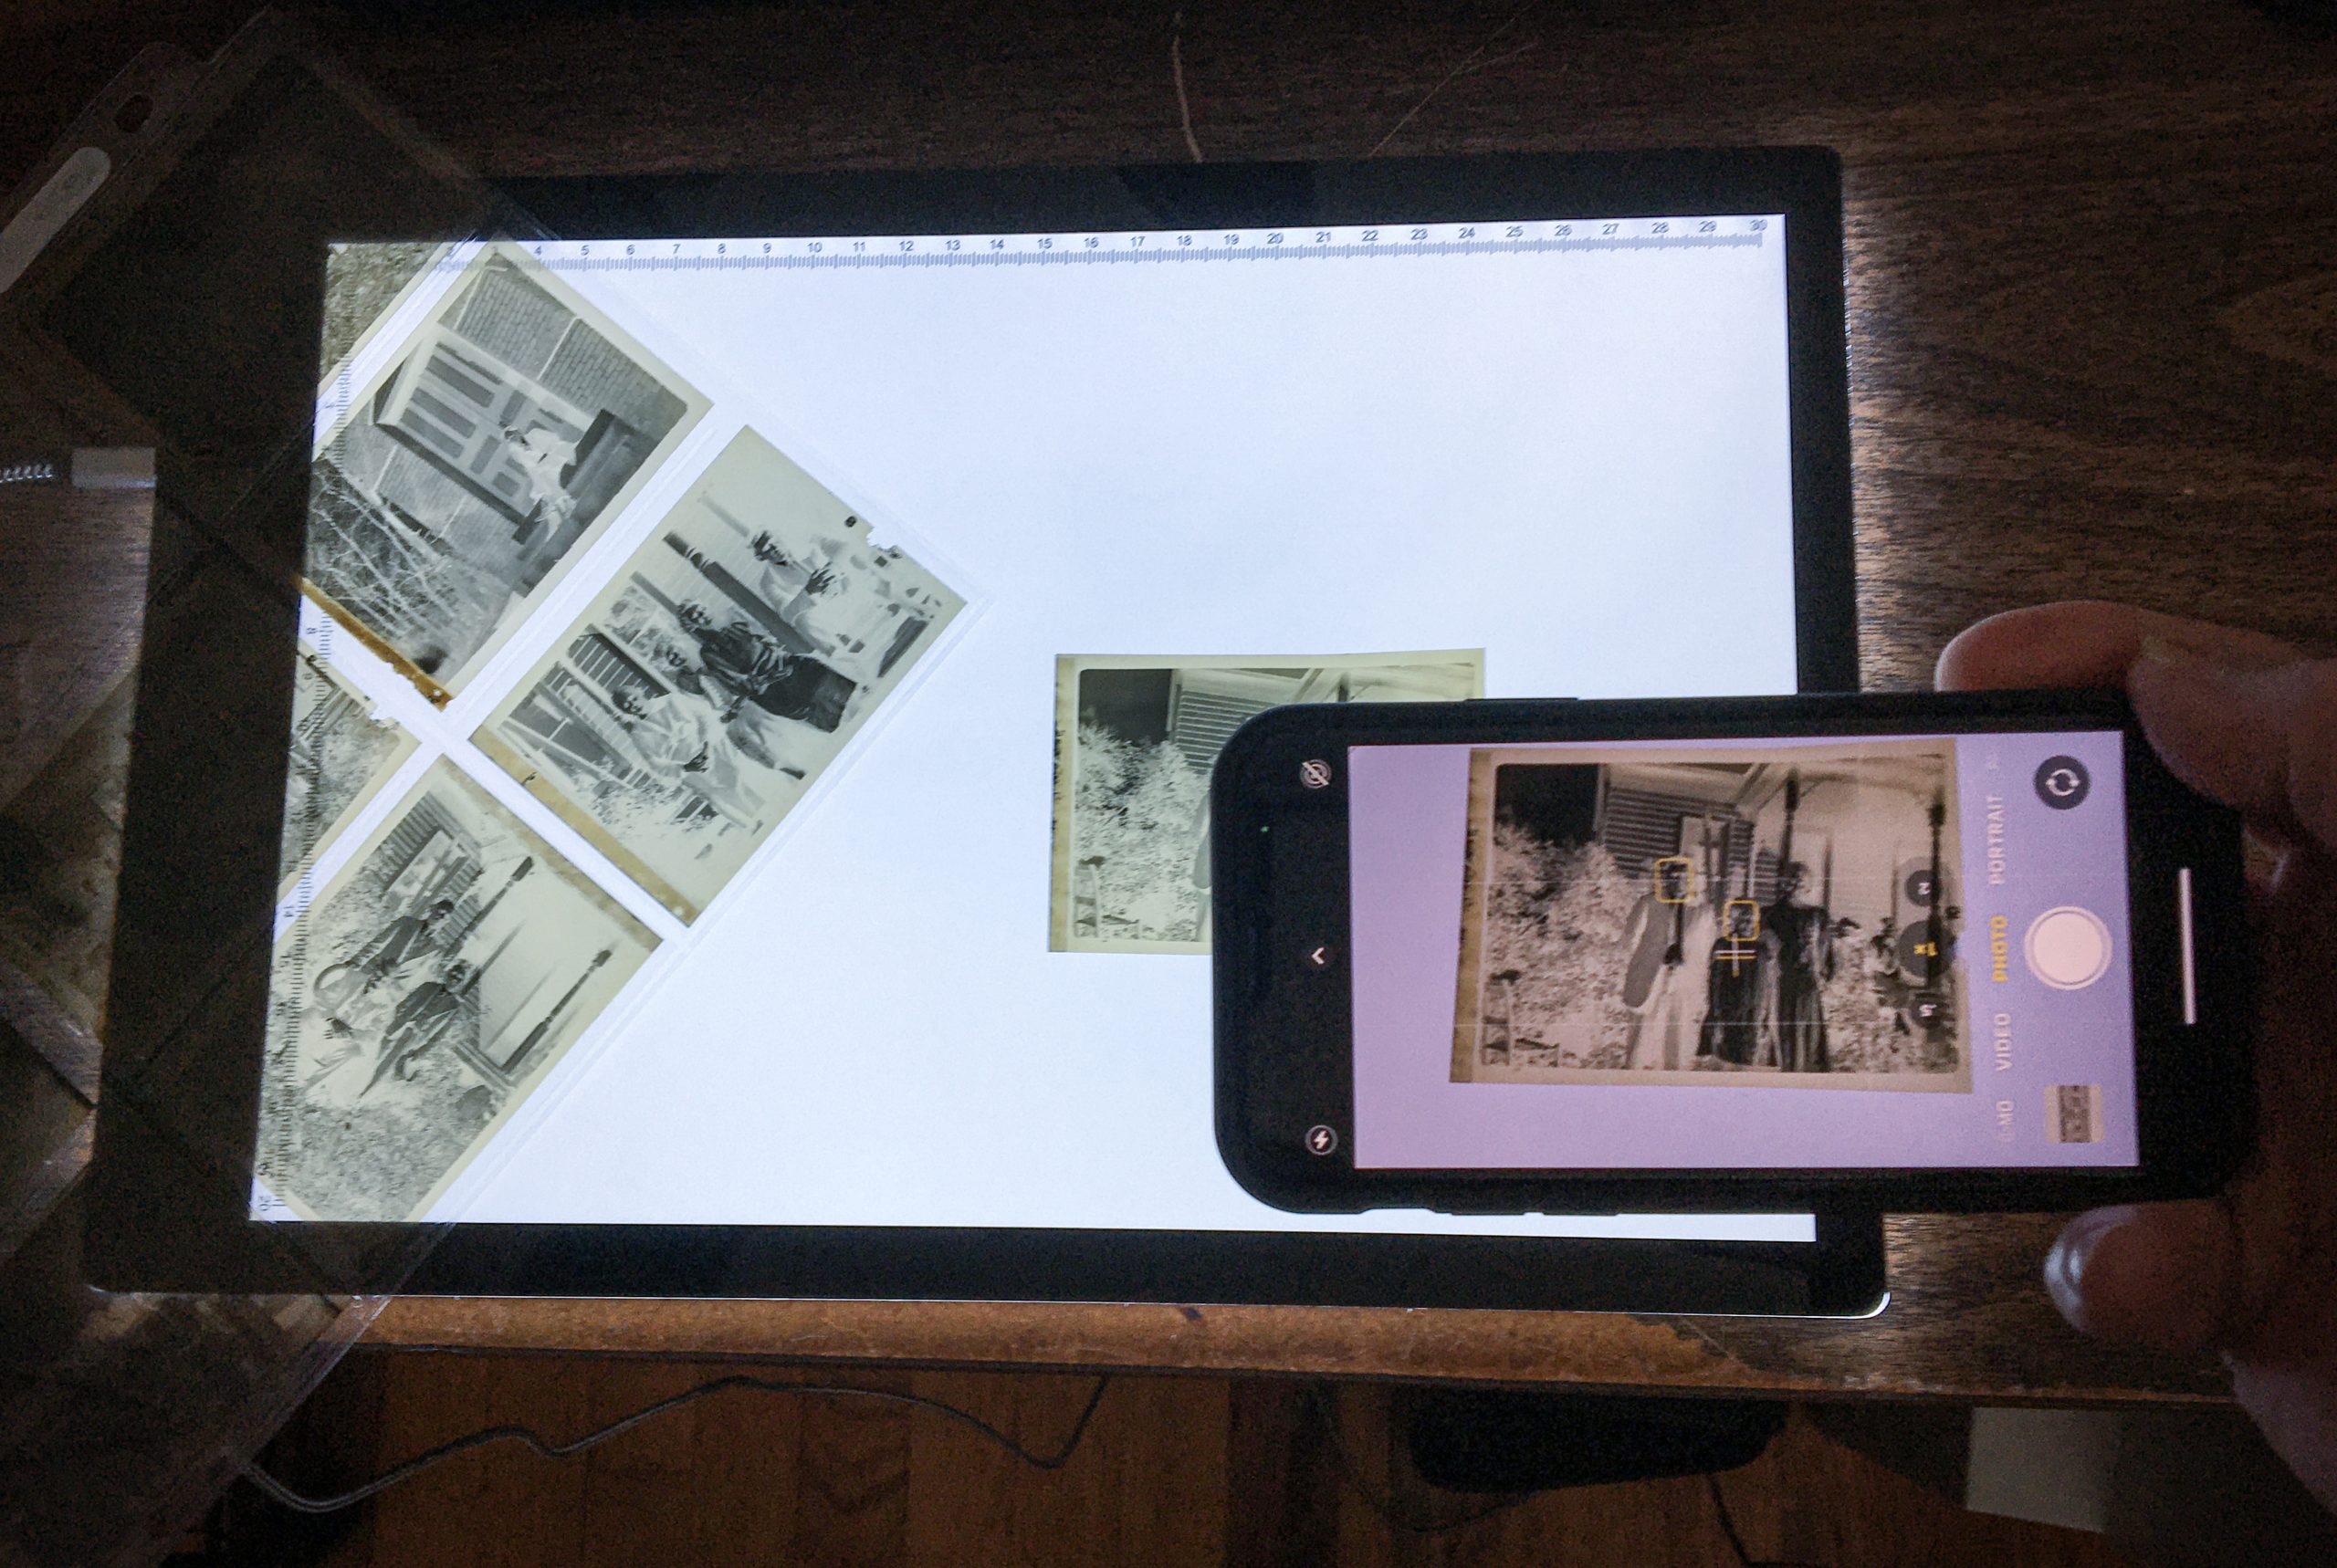
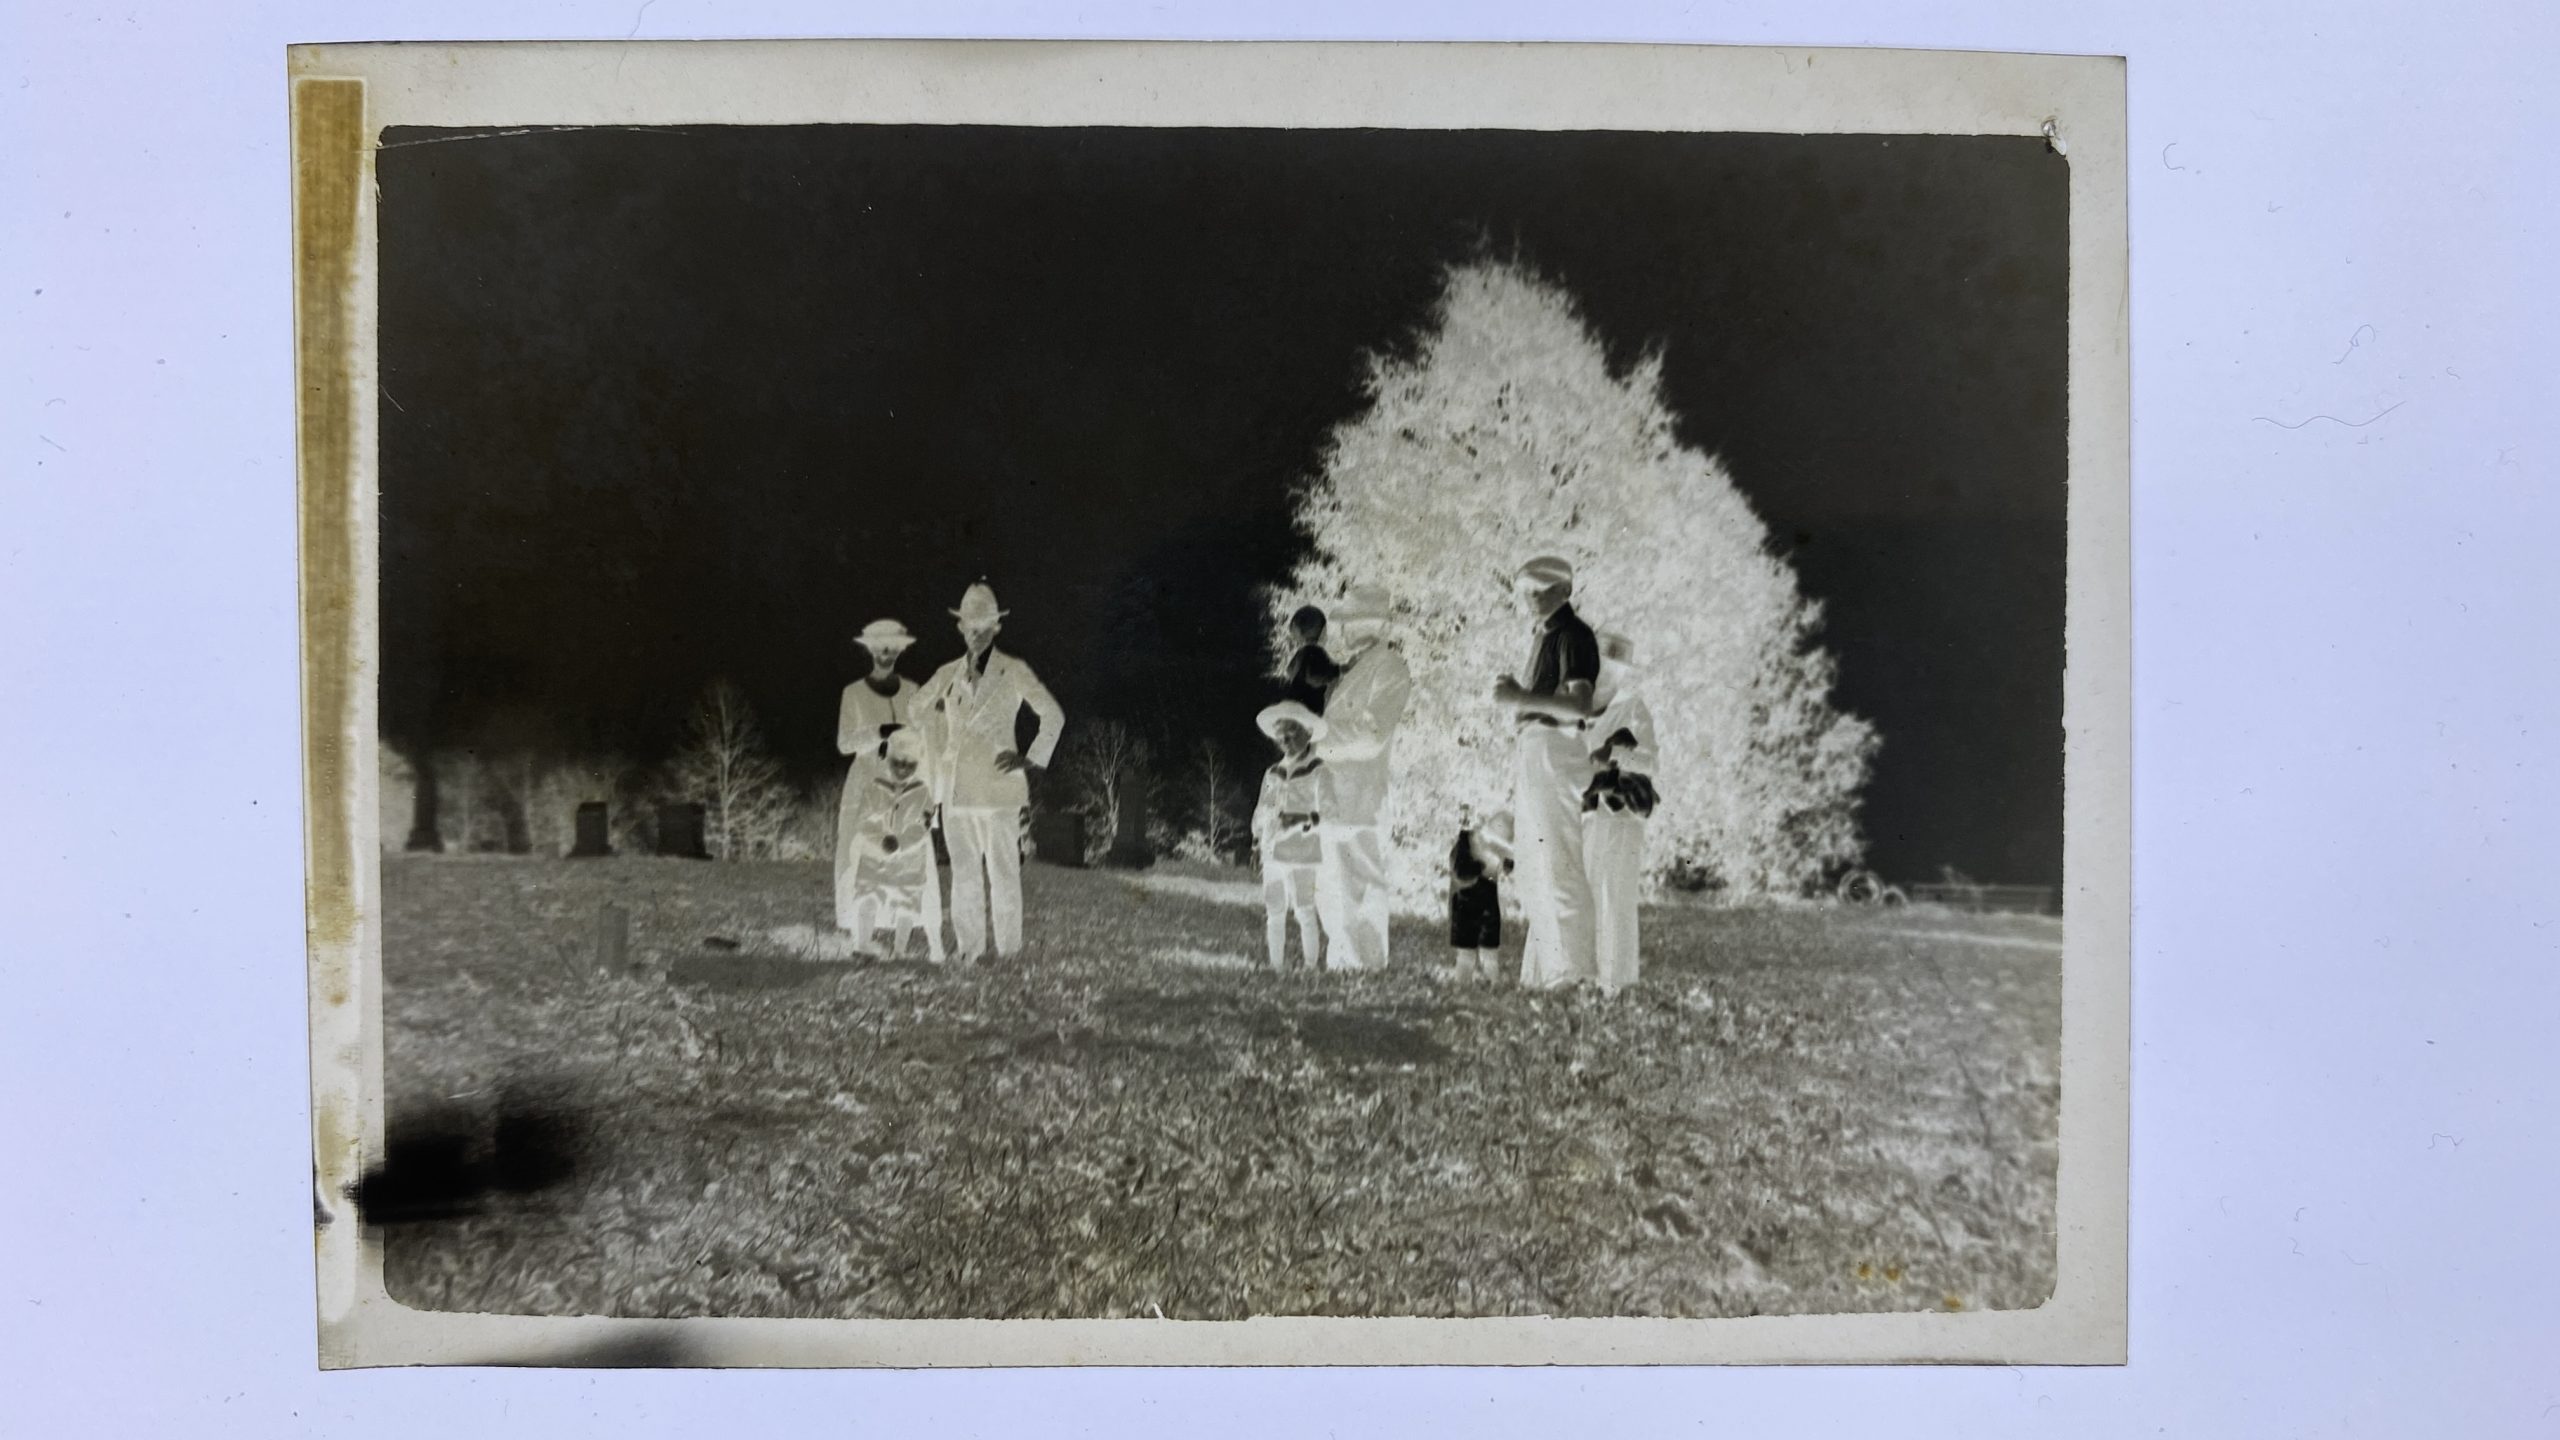
Below is the resulting image from the iPhone
I then transfer my photo of the negative to my computer via what ever means. For me I usually transfer it to my Google Drive and then download it to my computer, but anyway you transfer your images will work. If nothing else attach it to an email and send it to yourself. There’s other free services for doing transfers also, such as DropBox and wetransfer.com.
After opening the image in Photoshop (other programs should work as well) I use the cropping tool to set the width of the image to 10 inches at 600ppi. This gives a good archival size image. I also do any straightening I need to when doing the crop.
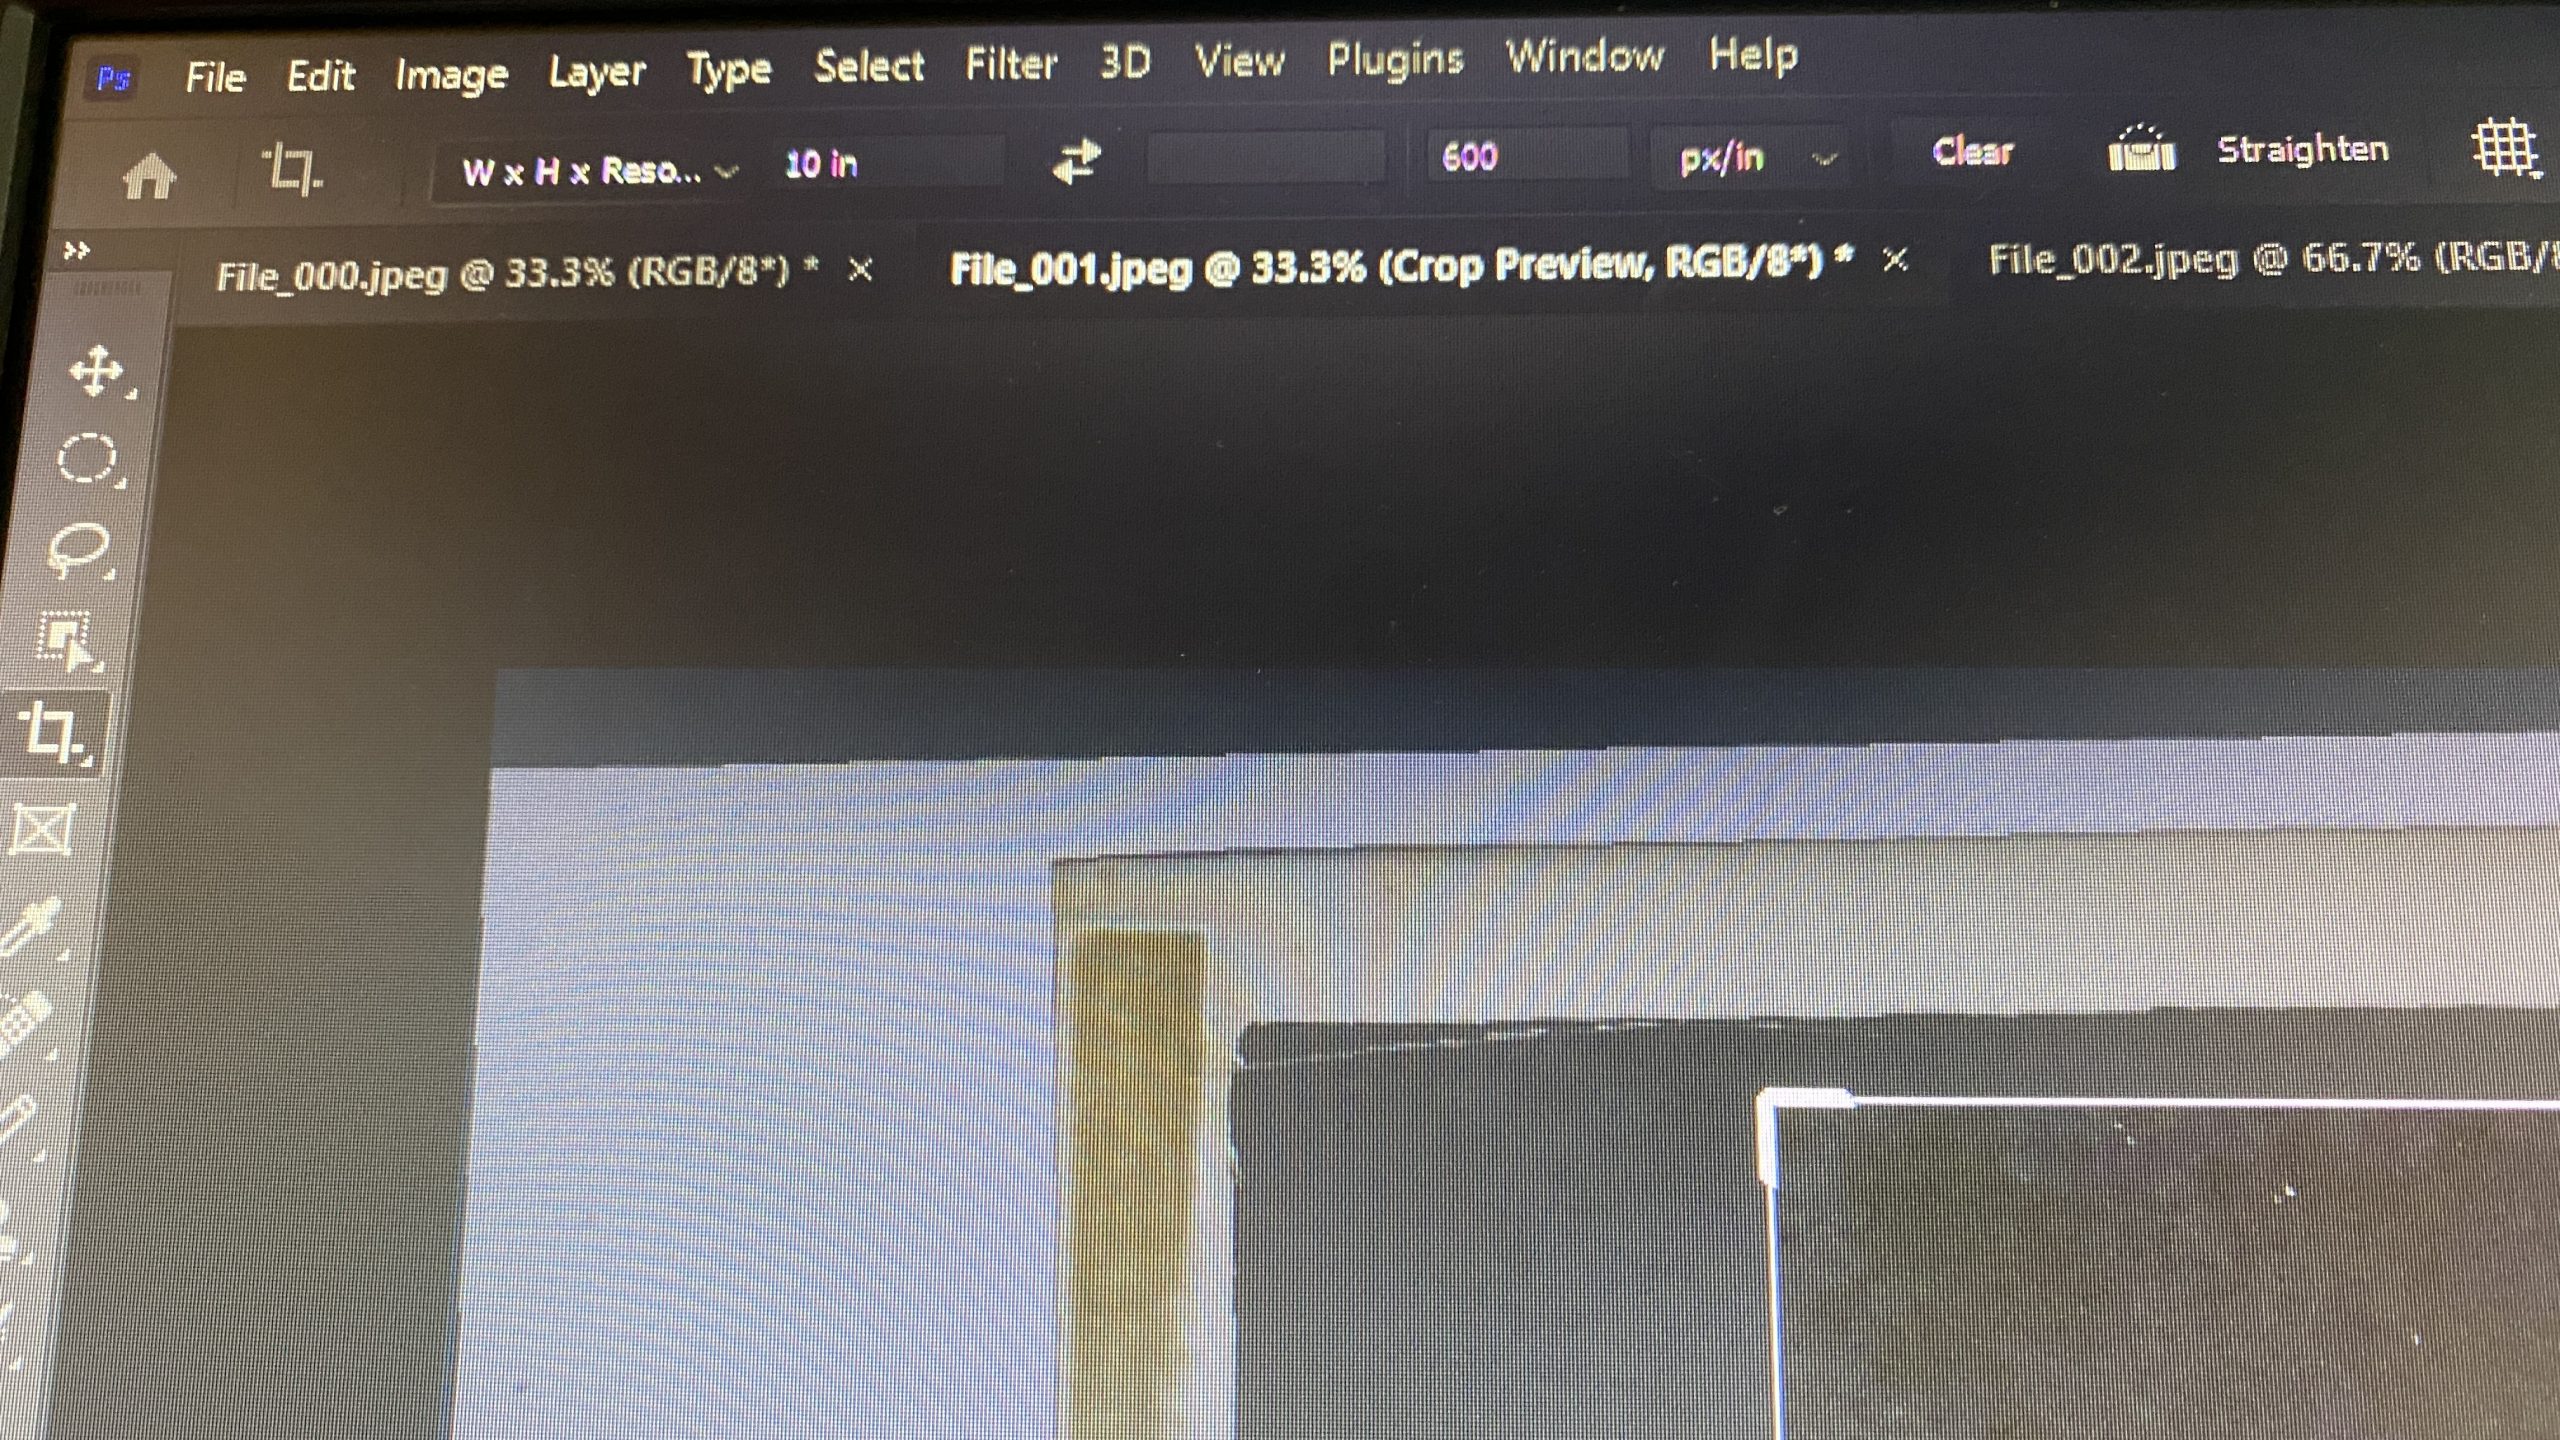
Here’s the resulting crop on this image

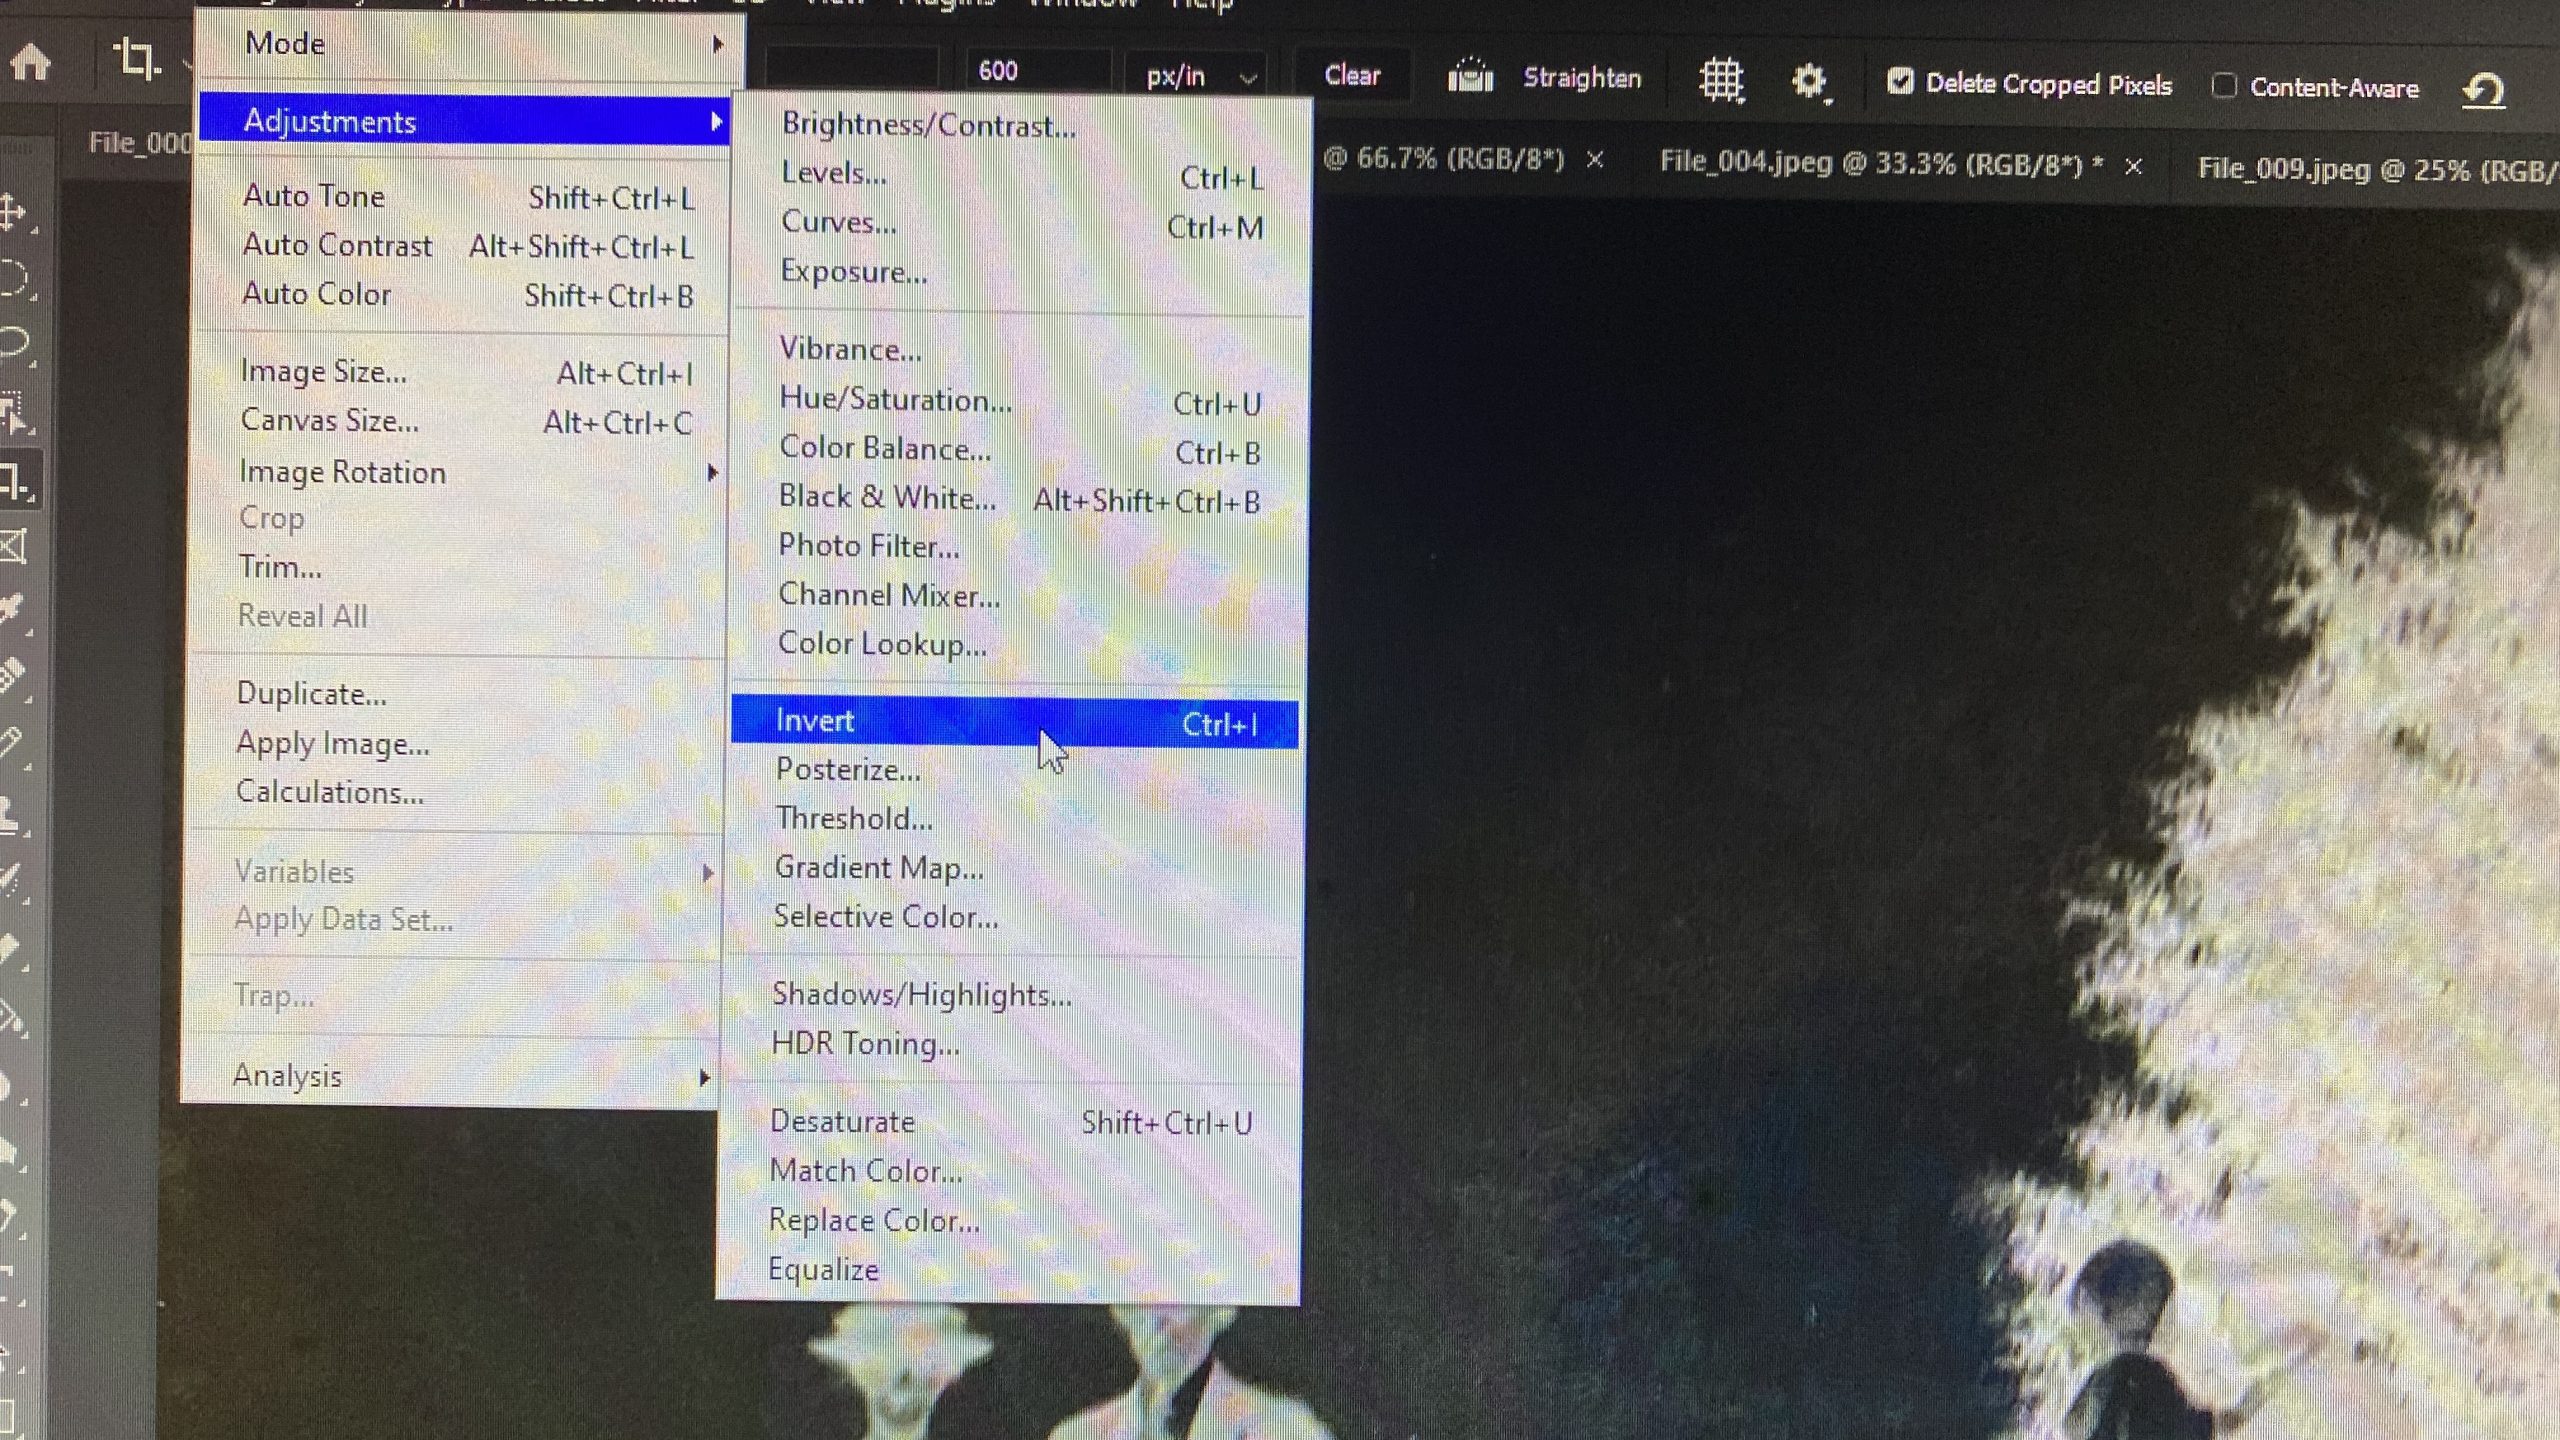
After cropping go to Mode, Adjustments and select Invert! This will reverse everything and the result will be a positive image, usually with a hint of color if it’s an old black and white negative. If it’s color you should have a color image now.
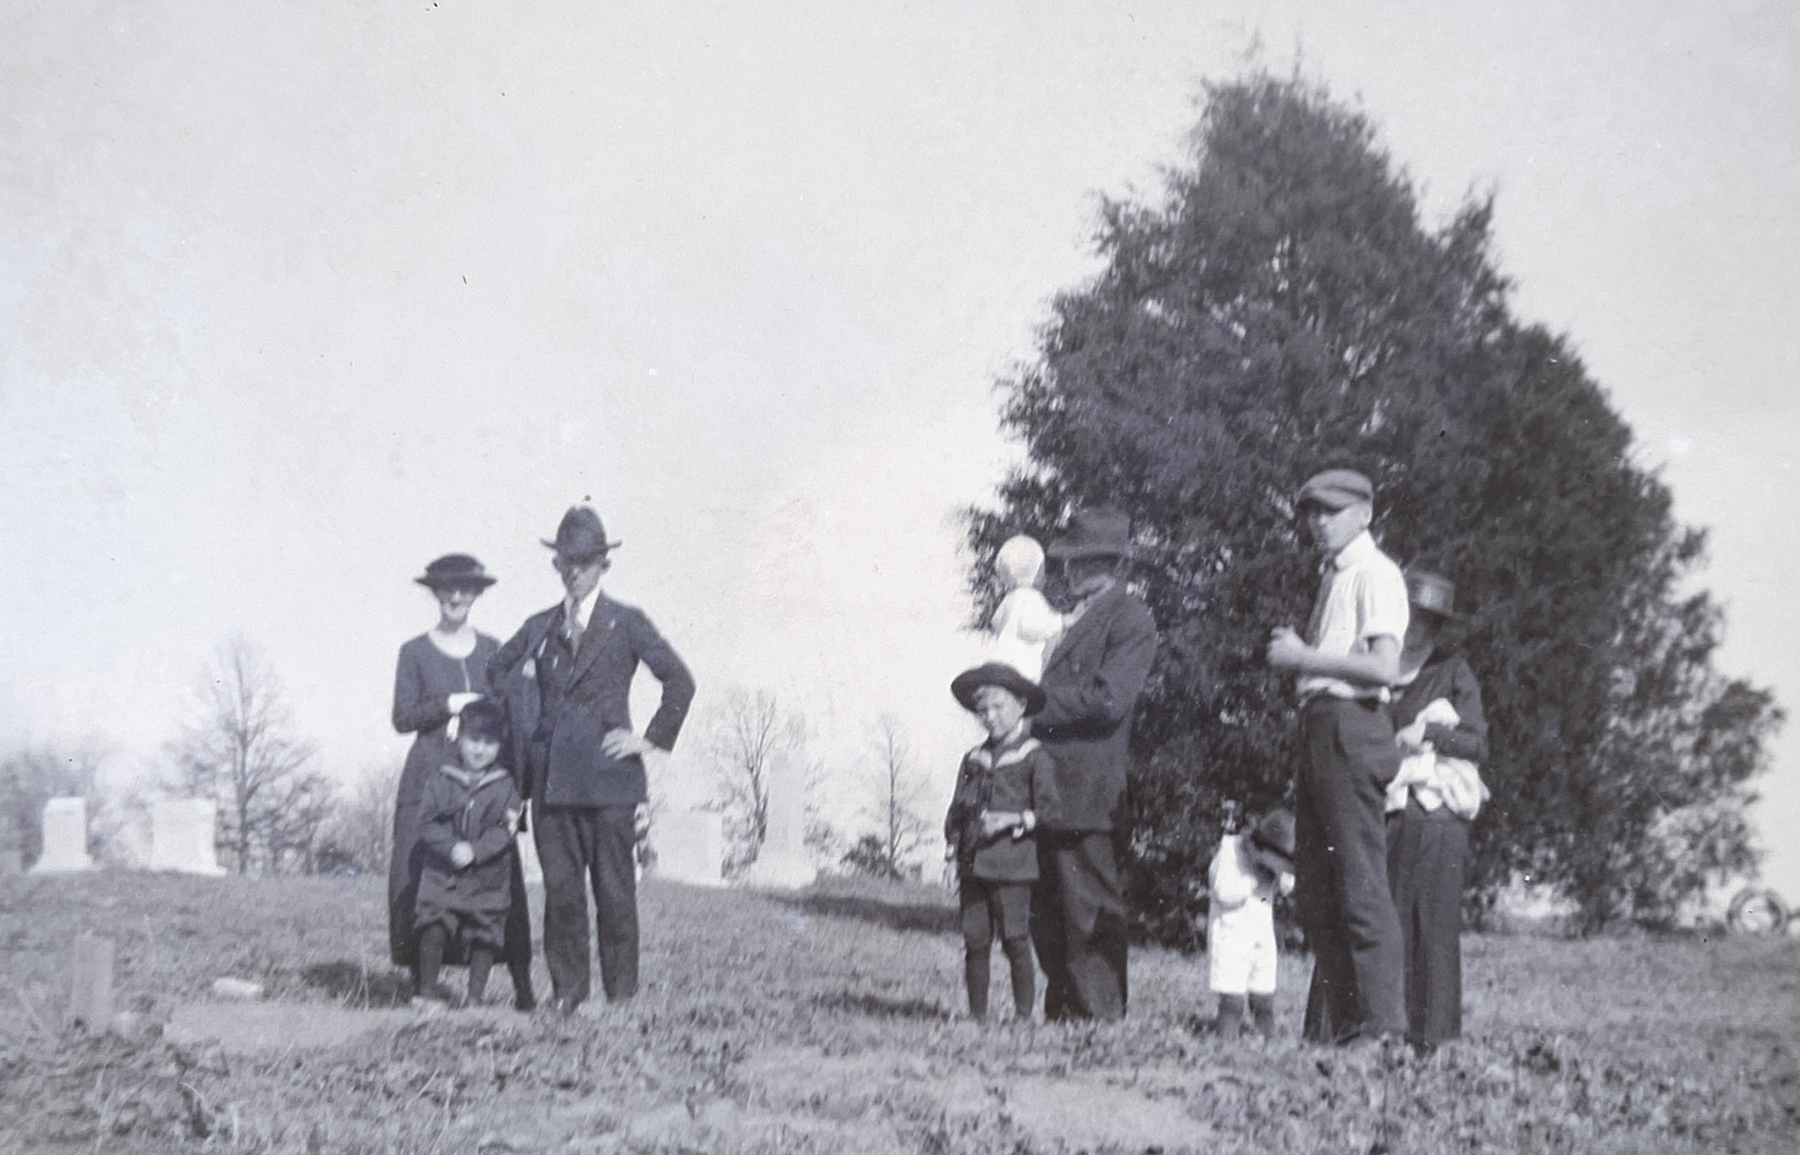
Here’s my resulting image after inverting it
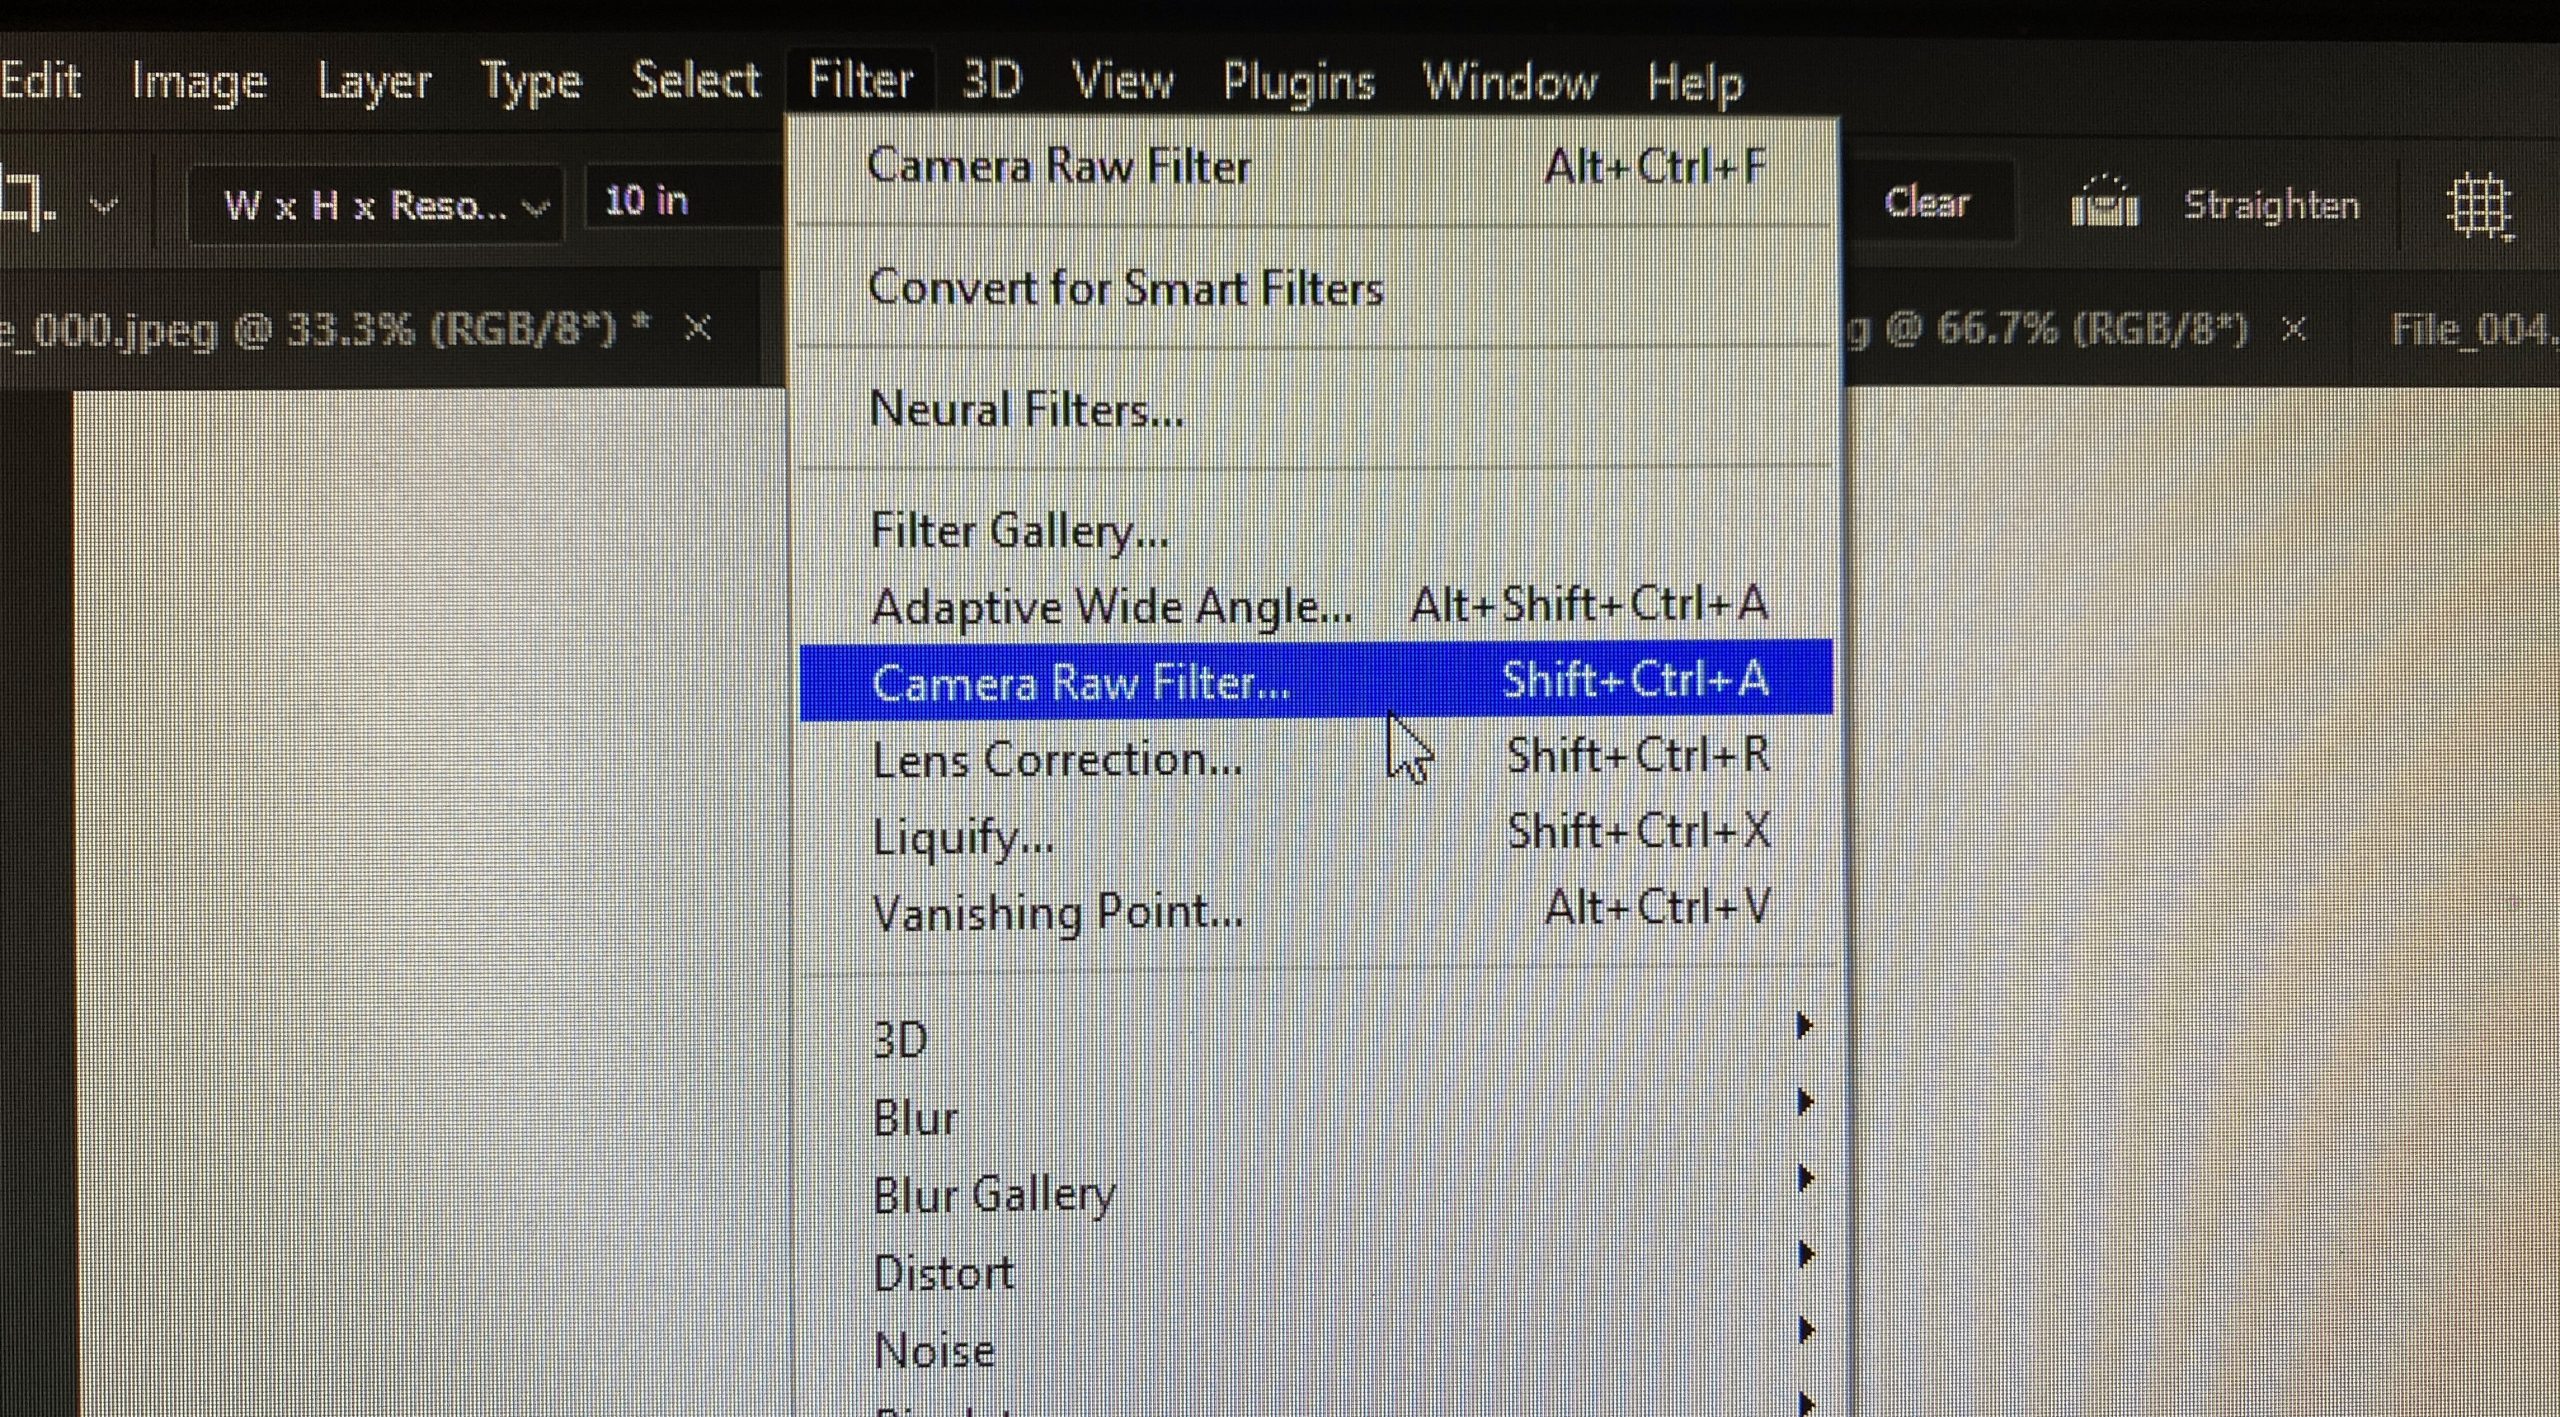
I then select Filter, Camera Raw Filter and do my editing in the Raw plugin in Photoshop. You are also able to do this in the regular Photoshop, but I like the control I get better in the Raw Plugin.
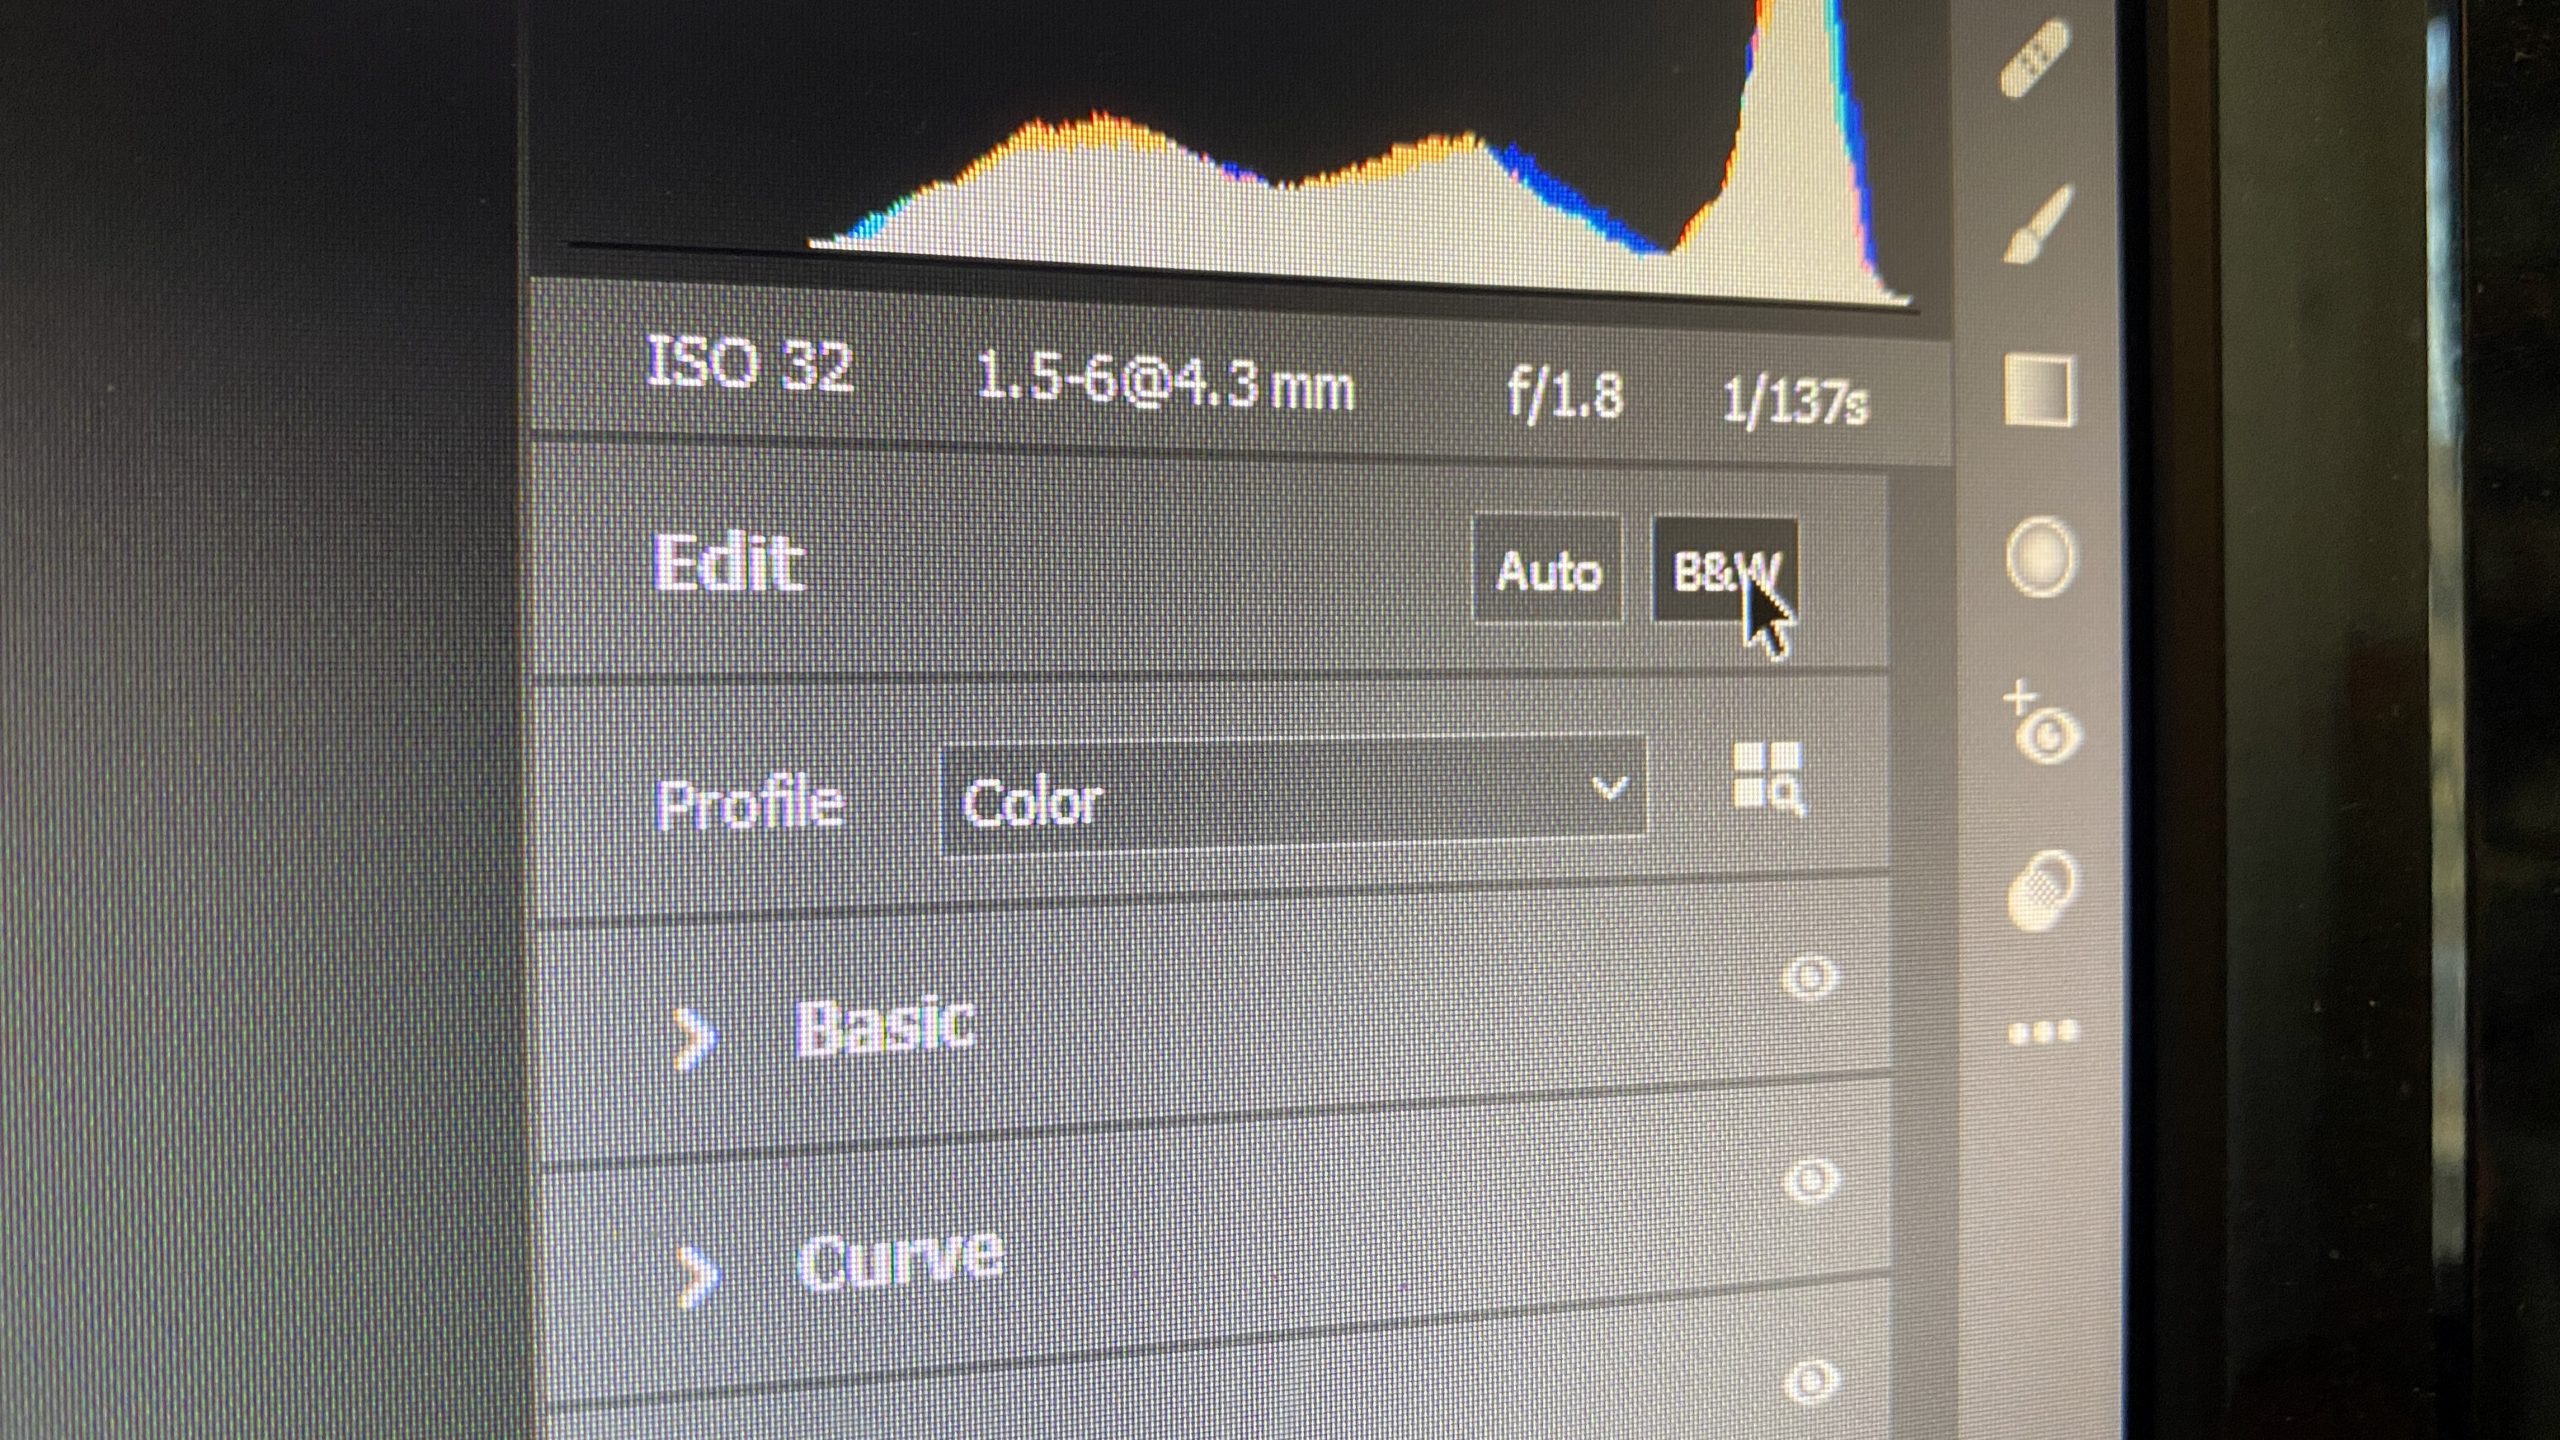
Once I have it open in the Raw plugin I then select the B&W mode in the upper right corner. You can also not that the iPhone shot this at ISO 32 at f/1.8 at 1/137th of a second.
I then work my way down the adjustment panel till I have made all the adjustments till I’m happy with how the picture looks at which time I tell it OK in the bottom of the panel to make the changes and return to Photoshop.
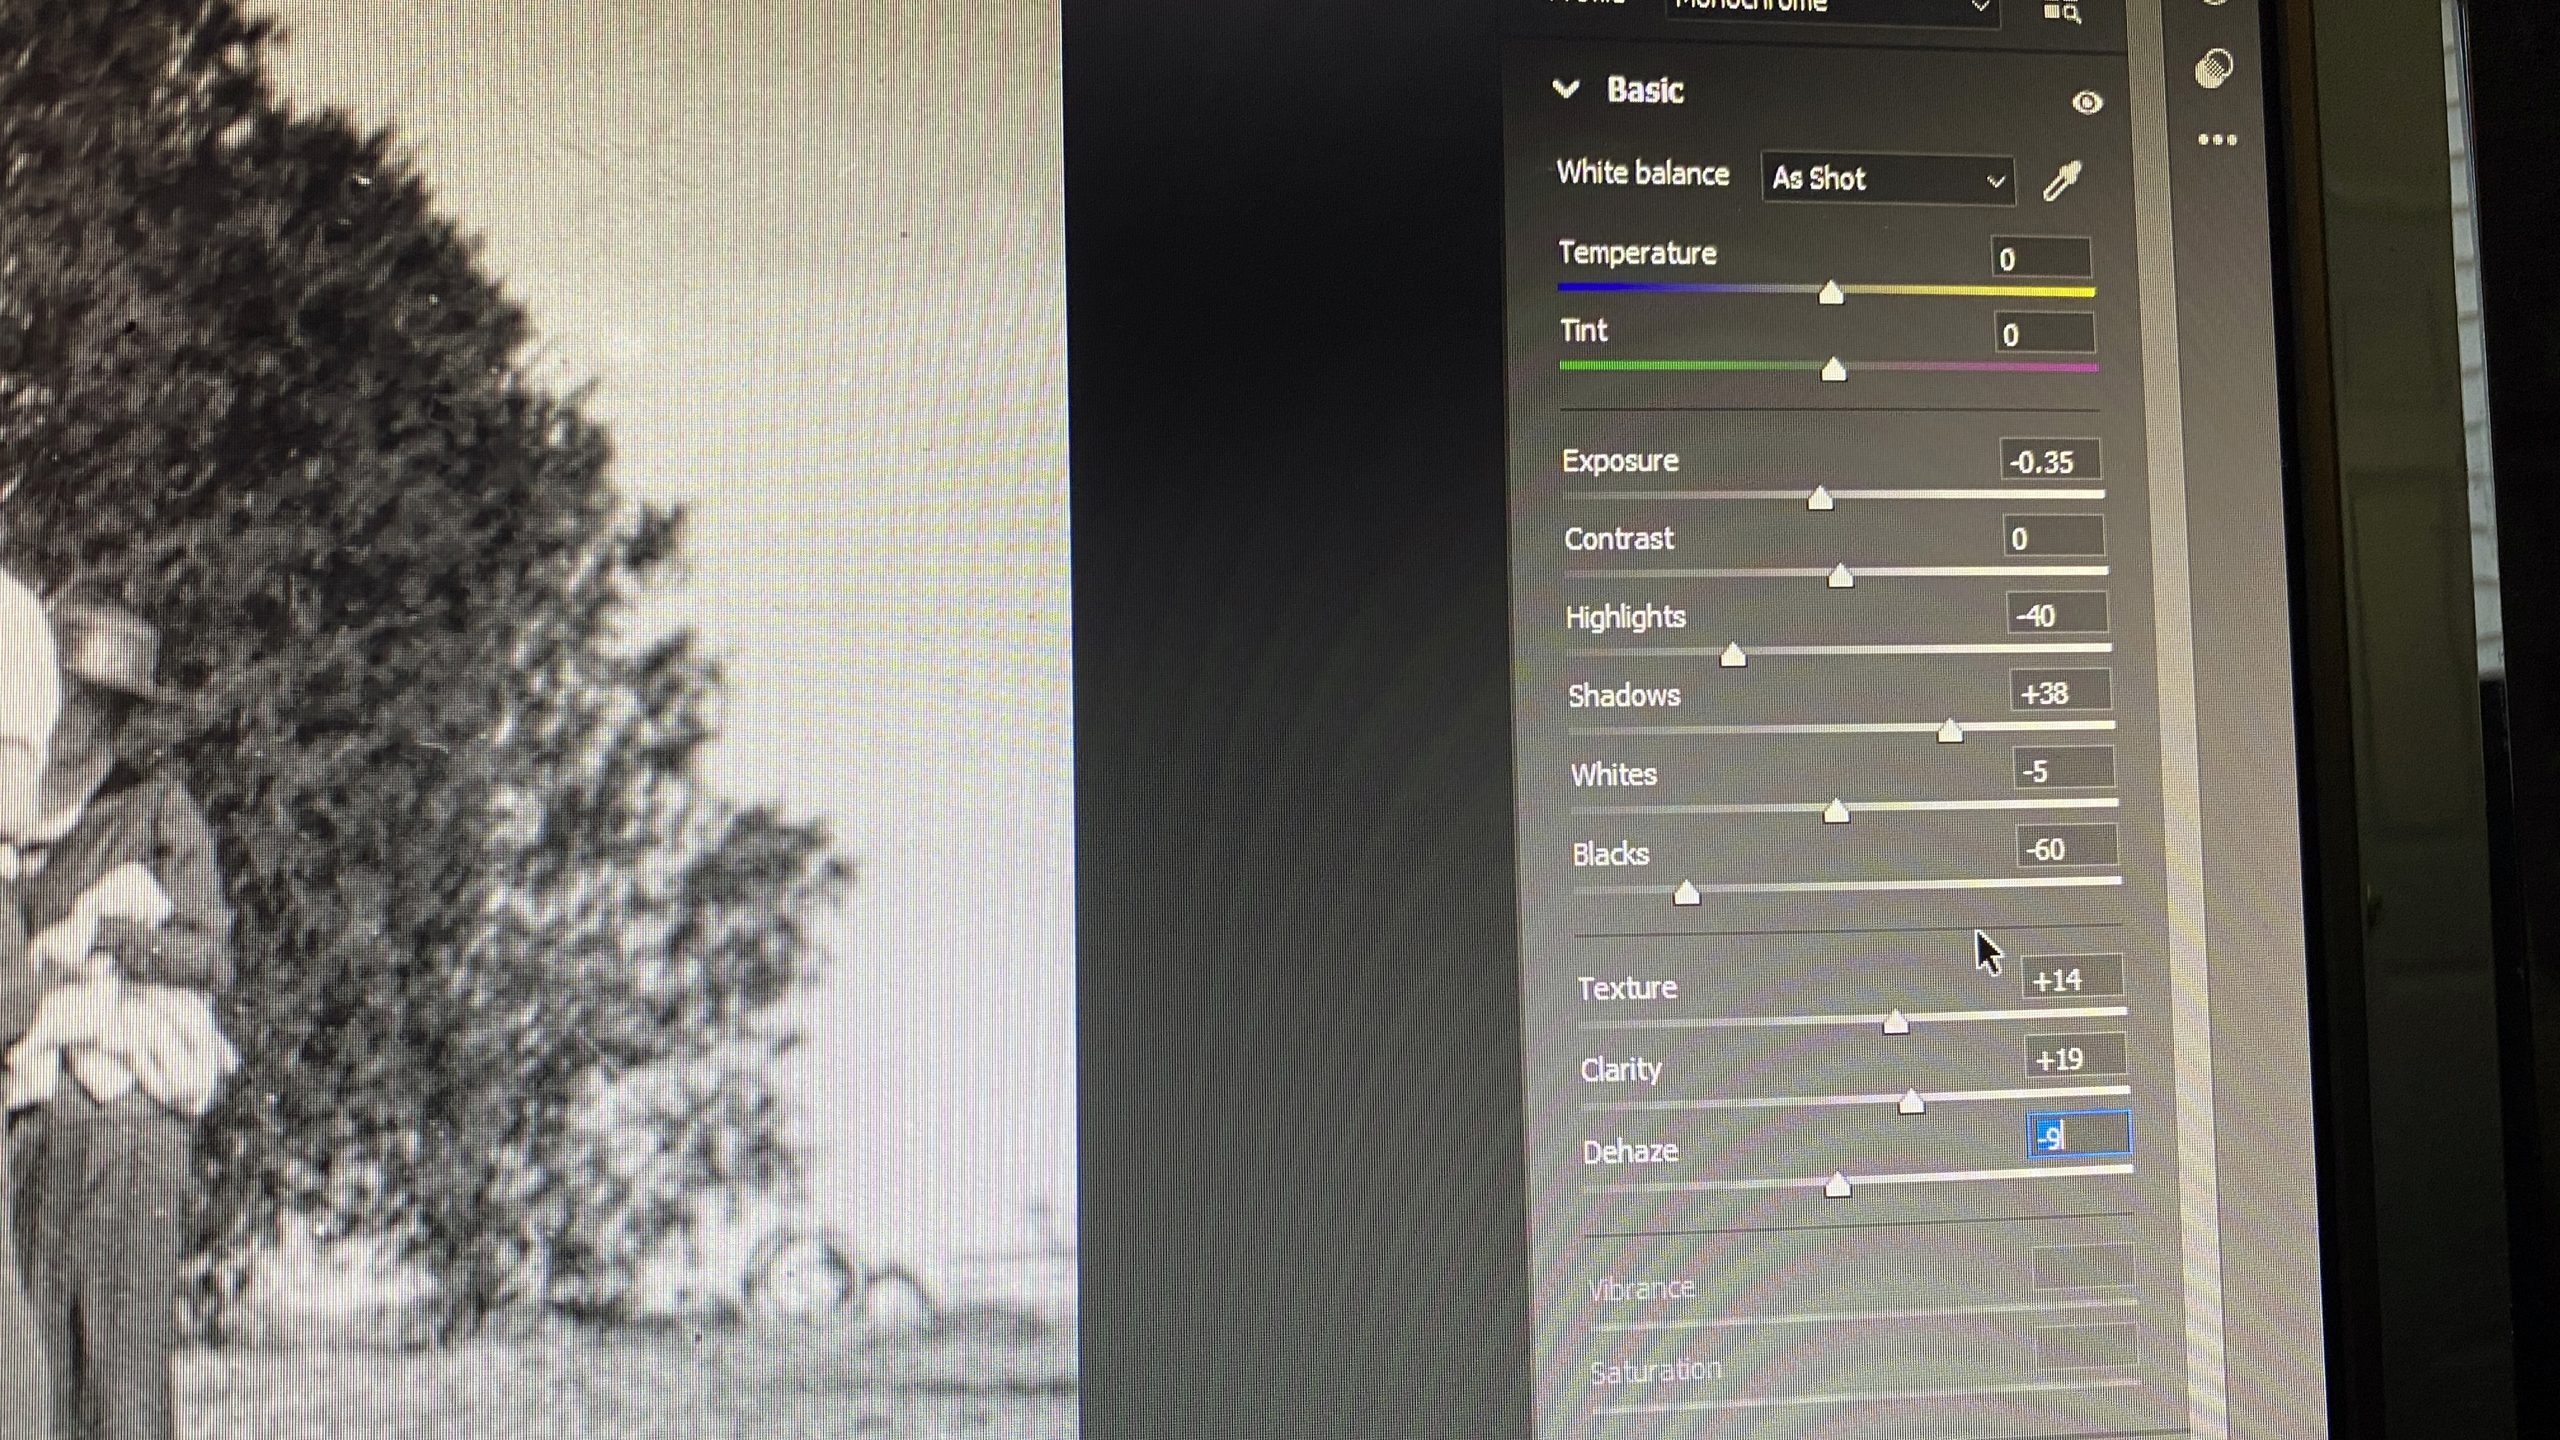
Here’s my final adjustments on this image, which you can compare to the inverted picture above!! I then do any cleanup of the image using the Spot Healing Brush or Clone Tool in Photoshop.
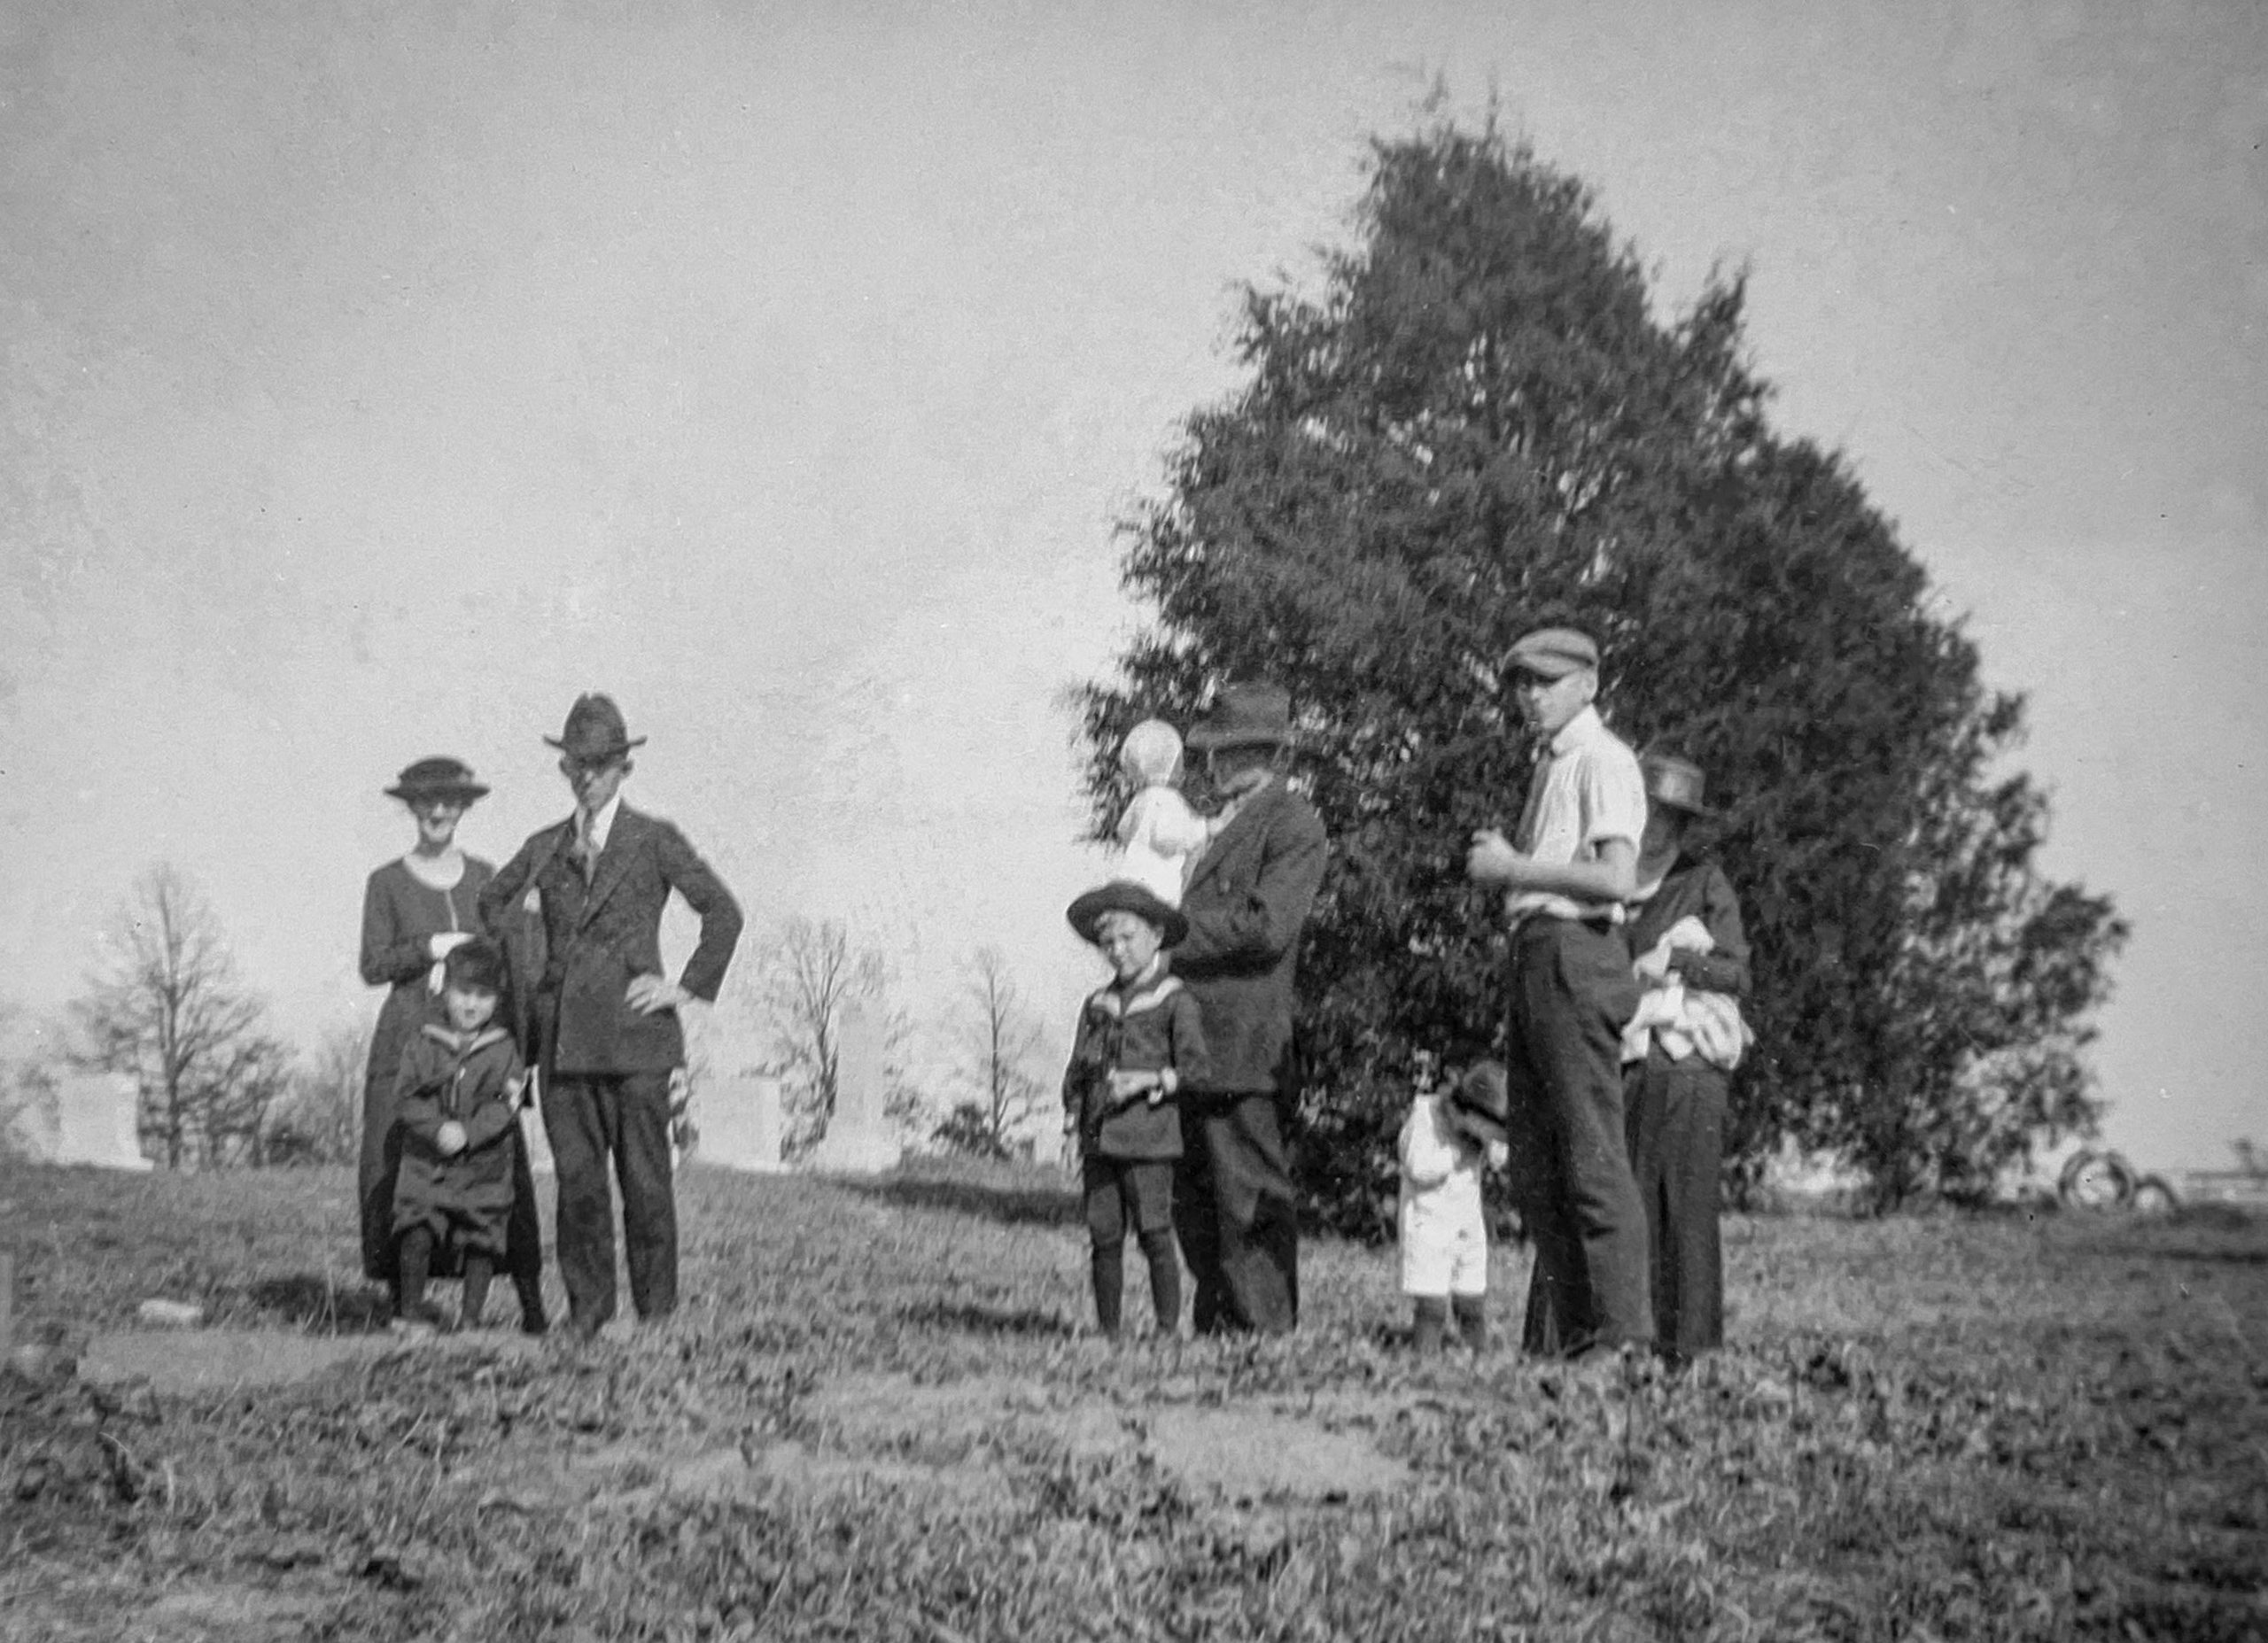
I then save the image as a high quality JPG. You of course can save in any file format your image editing program allows.
Below you will see the light box I use along with a link to it and others on Amazon. The one I use is the first one and it sells for around $20. If you have larger negatives, look for a larger box!

In closing, if you need a larger file and have a lens that will focus close you might think about your digital camera to photograph the negative on the LED light box as it should give you even better quality, especially if you shoot Raw with your camera. So far, I’m very pleased with the iPhone quality for these so I’ve not tried my digital camera yet.